eeping food cold and frozen in an RV is quintessential to self-containment. Absorption refrigerators have been the appliance of choice for as many years as old timers can remember. But while these refrigerators have proven track records for off-grid performance — they can operate on LP-gas in just about any camping environment — they still don’t completely sever ties to civilization since those cylinders/tank will eventually need refilling. Then, too, there’s a growing segment of outdoor enthusiasts who just don’t want to carry propane.
Of course, advancements in on-board power technology have opened the floodgates for the use of 120-volt AC residential refrigerators in RVs — but the downside here when going off the grid is the need for a much more sophisticated 12-volt DC power system driven by large battery banks, big inverters and expansive solar systems.
Coming on the scene of late is the development of efficient 12-volt DC compressor-type refrigerators that work like their residential cousins — but are efficient enough to be installed in RVs with only a couple of batteries backed by a basic charging system. Elkhart, Indiana-based Way Interglobal (www.wayinterglobal.com) pioneered the move into the 12-volt DC refrigerator space and offers a number of Everchill models to the industry and aftermarket, earmarked for all RVs.
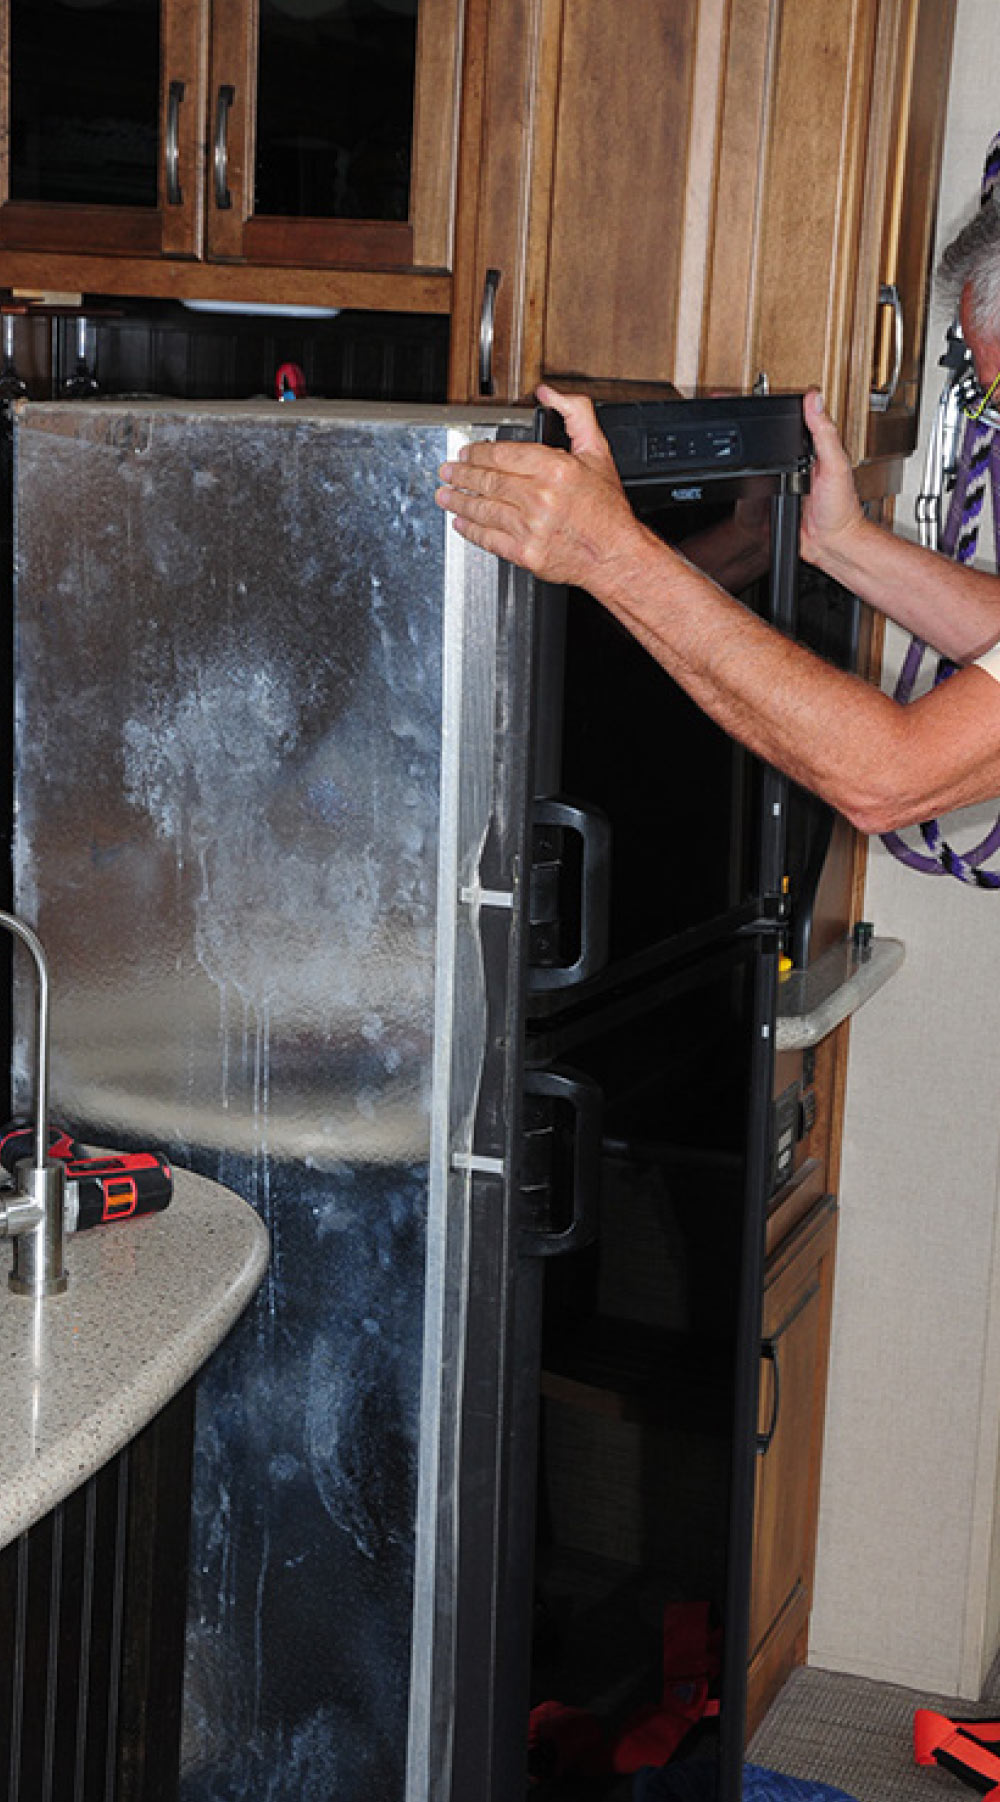
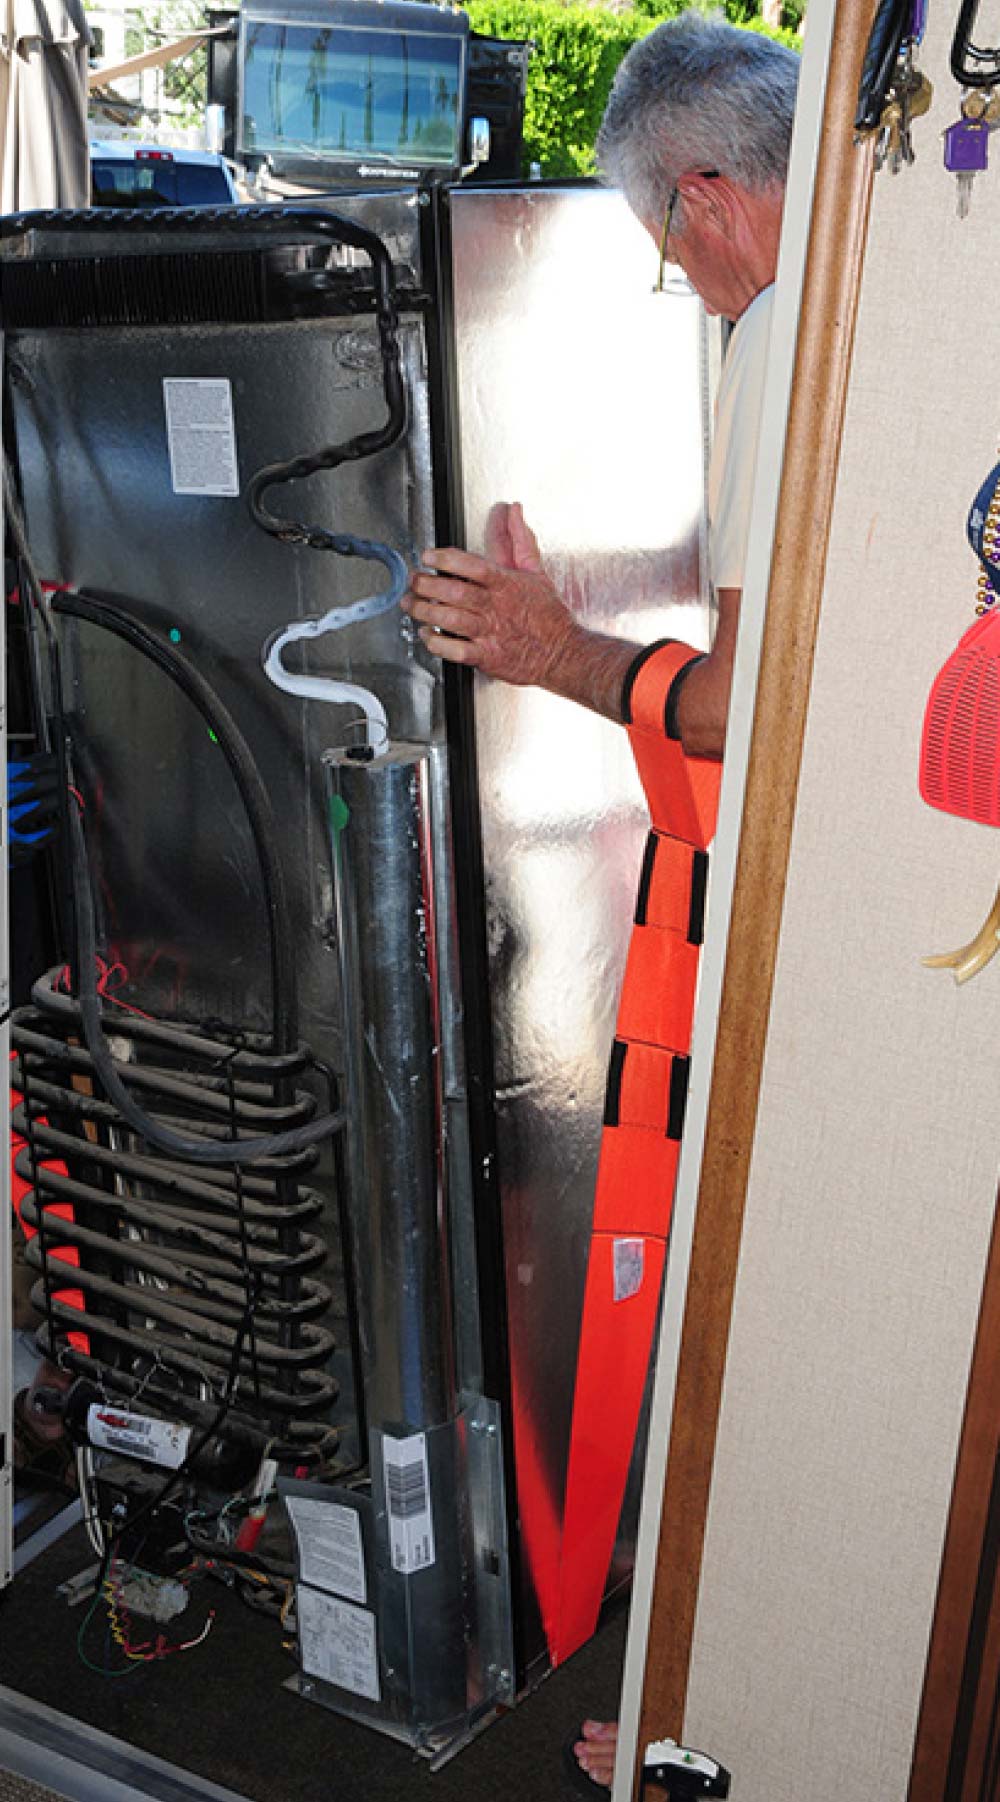
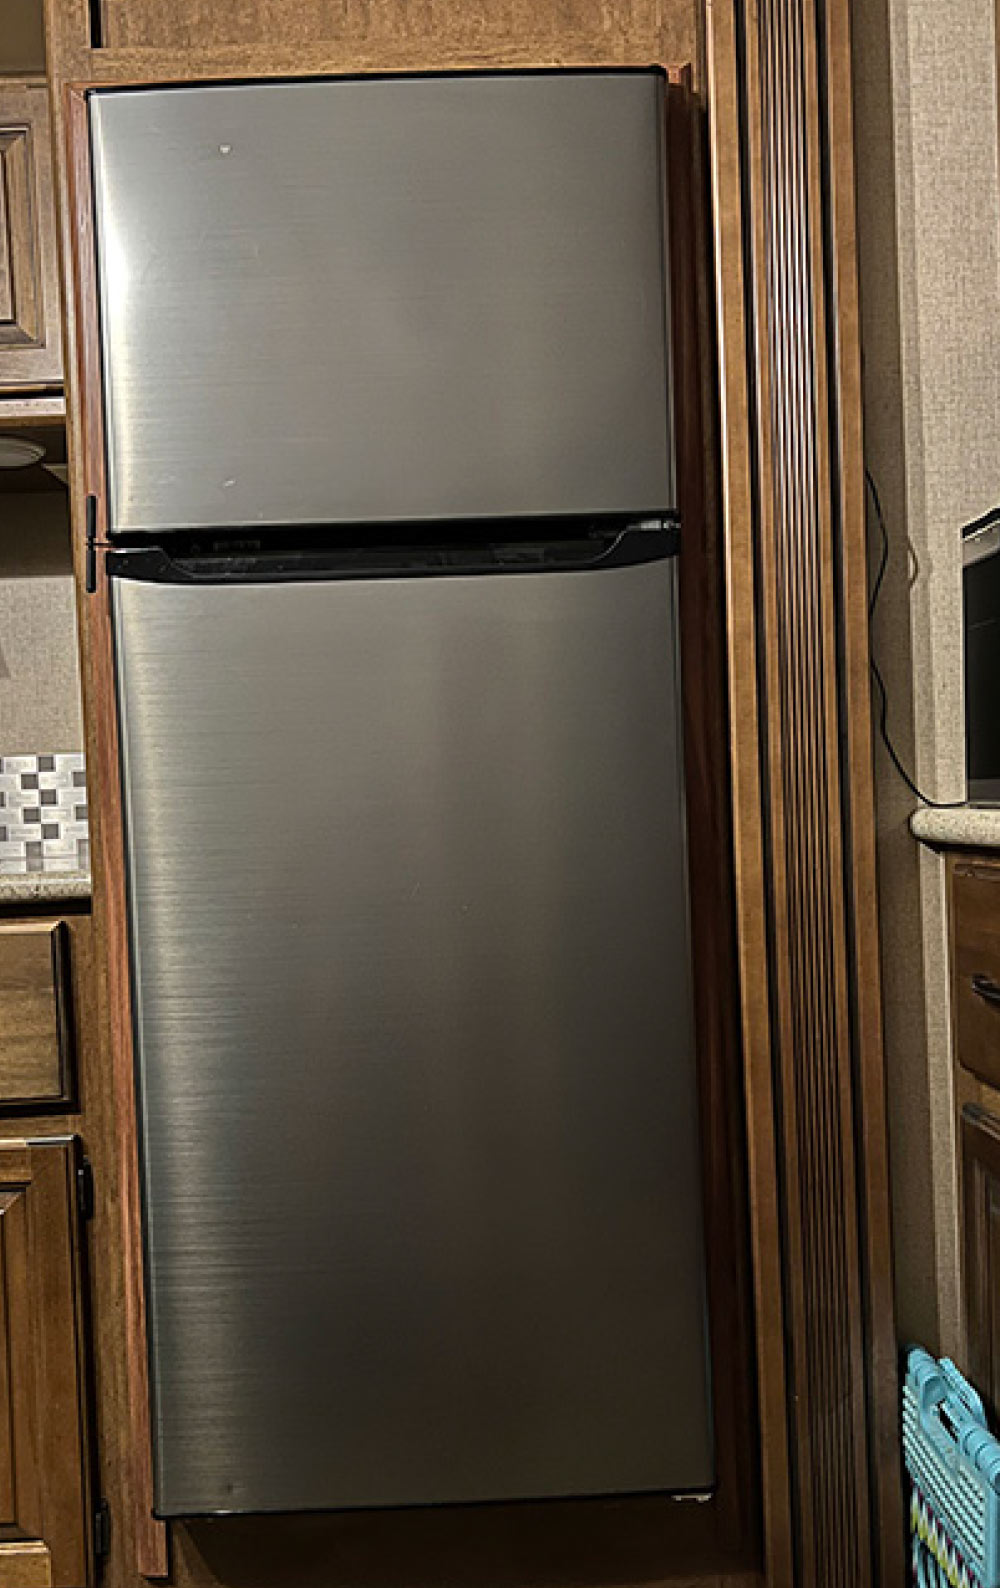
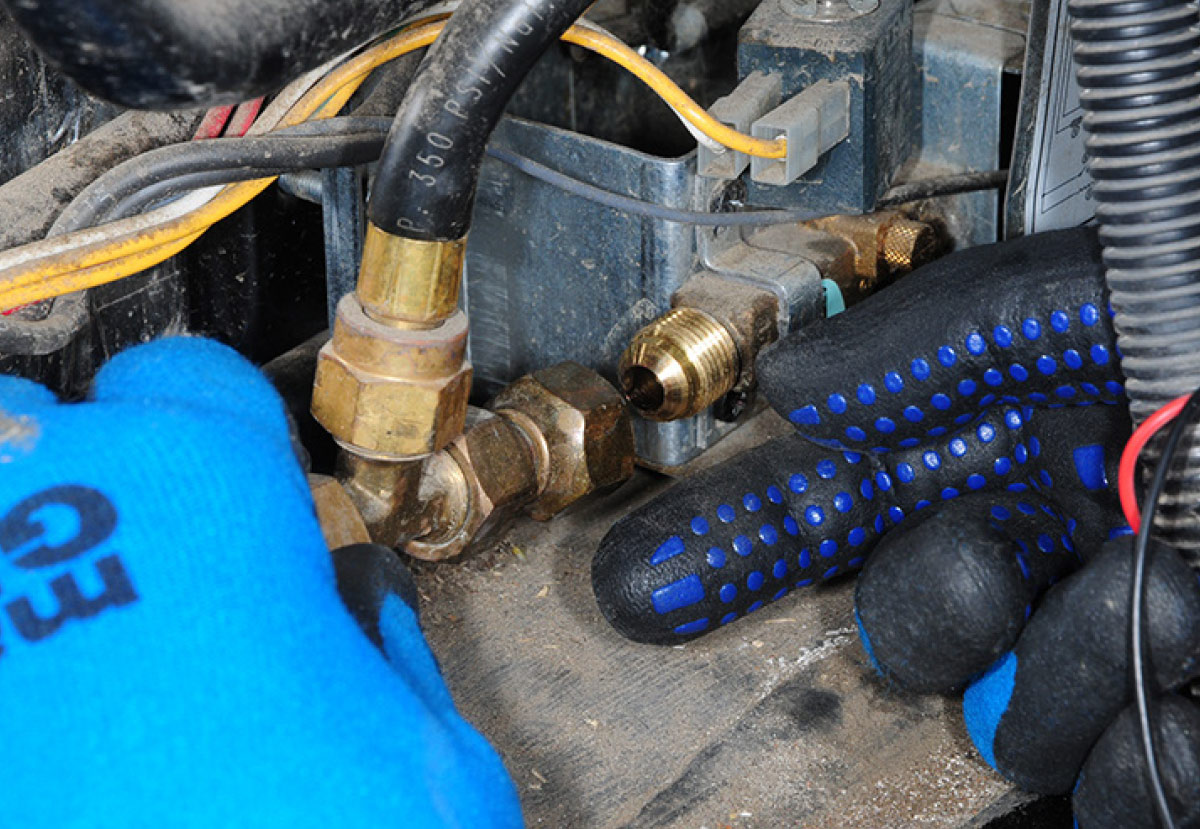
Of course, absorption refrigerators also cannot function without battery current — but as we found when swapping out the original absorption unit in a 6-year-old Grand Design Reflection, the efficient power use of a refrigerator operating solely on 12-volt DC power in the fifth wheel made it a great choice for camping no matter what the circumstances (boondocking or campground). That, though, was only part of the advantage; the other was the dramatic increase in interior space gained by eliminating the cooling fins on the back of the absorption unit and adding to the box capacity. The Everchill 10.7-cubic-foot refrigerator (now upgraded to 11 cubic feet; $1,249.90) we retrofitted occupied the same space as the original 8-cubic-foot LP-gas/electric counterpart — and requires no inverter.
Granted, you’ll need a way to keep the batteries charged while using the Everchill when un-tethered from hookups, but there are number of ways to get there. While on the road, the charge line from the tow vehicle/motorhome engine will keep the batteries conditioned; when parked in a primitive setting, a solar system or a generator through a converter/inverter will provide the necessary charging. And, of course, if you’re hooked up, the converter/inverter will keep the batteries charged.

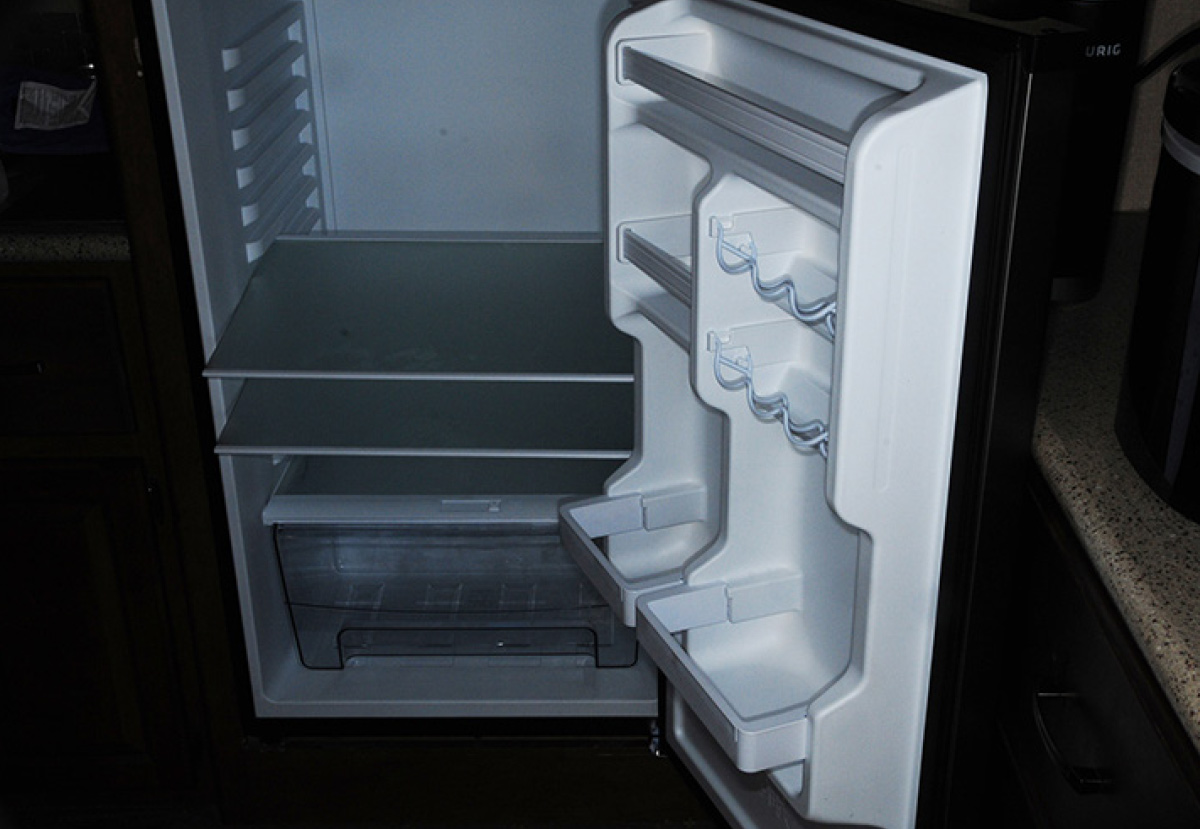
Freezer space was also improved dramatically — and it keeps food solid, even ice cream. Plus, the fact that it’s frost-free is a blessing; we hated defrosting the previous refrigerator manually. The Everchill’s simple freezer box design has one shelf dividing the entire area, and two catchalls built into the door. When we transferred the packed-in frozen food — some of which constantly fell out every time the door was opened — from the old unit to the new, there was space to spare. The freezer compartment has its own temperature and air-flow controls.
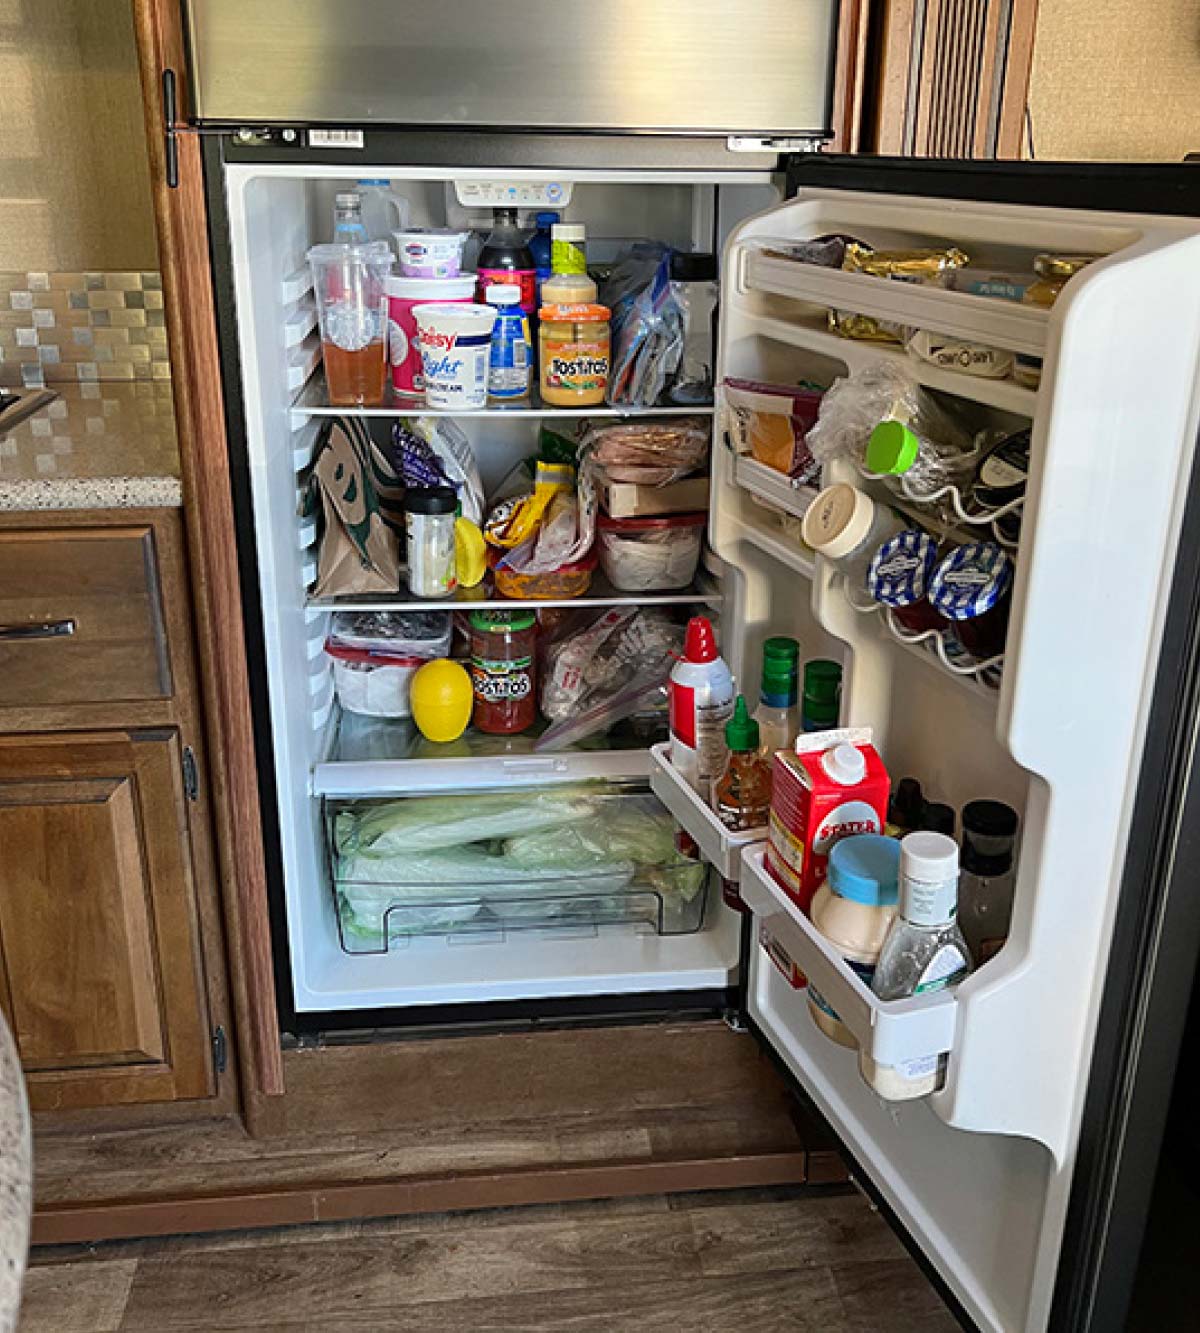
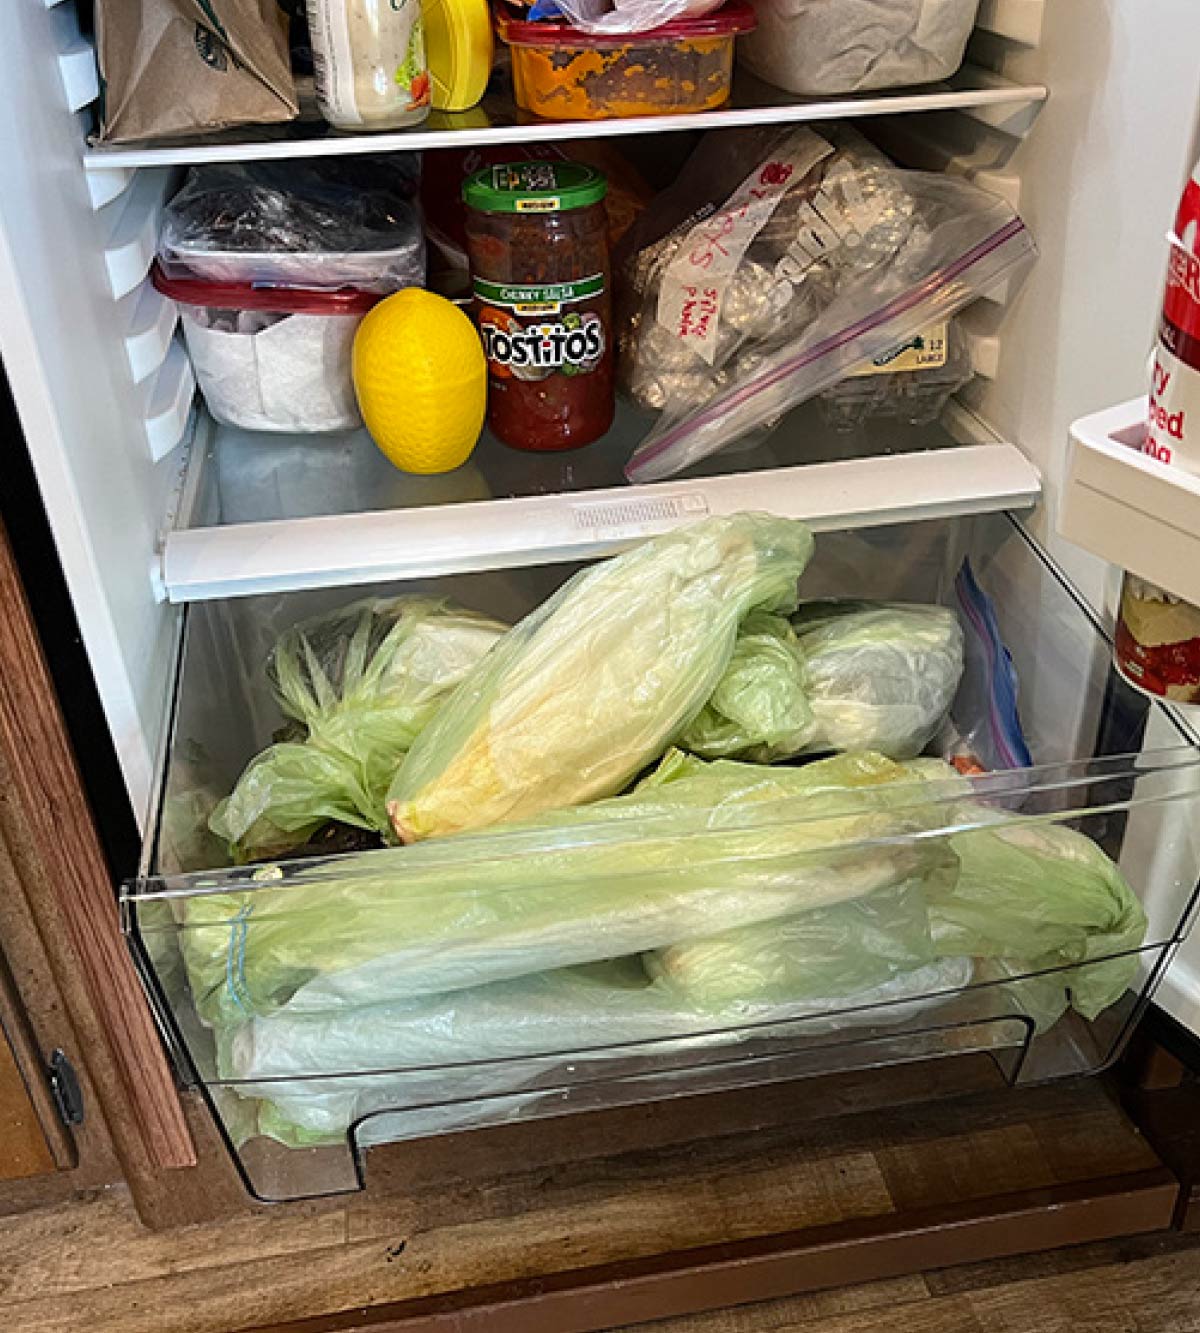
The cold-food box is also well-designed. Glass shelves look more like those in a residential refrigerator and are adjustable. There’s a generous-size vegetable crisper drawer in the bottom with a humidity control and a number of deep bottle/carton/can holders in the door. We appreciated the overall amount of storage in the door, which swallows up a lot of containers, but the spacing is a little too open so smaller bottles and cans have to be placed toward the back to prevent slipping through the “holes.” Once you figure out placement, the acclimation process is over.
The doors close tightly, preventing escape of cold air, which likely contributes to the temperature efficiency inside the box. And the travel latch, holding the doors closed while on the road, is second to none.
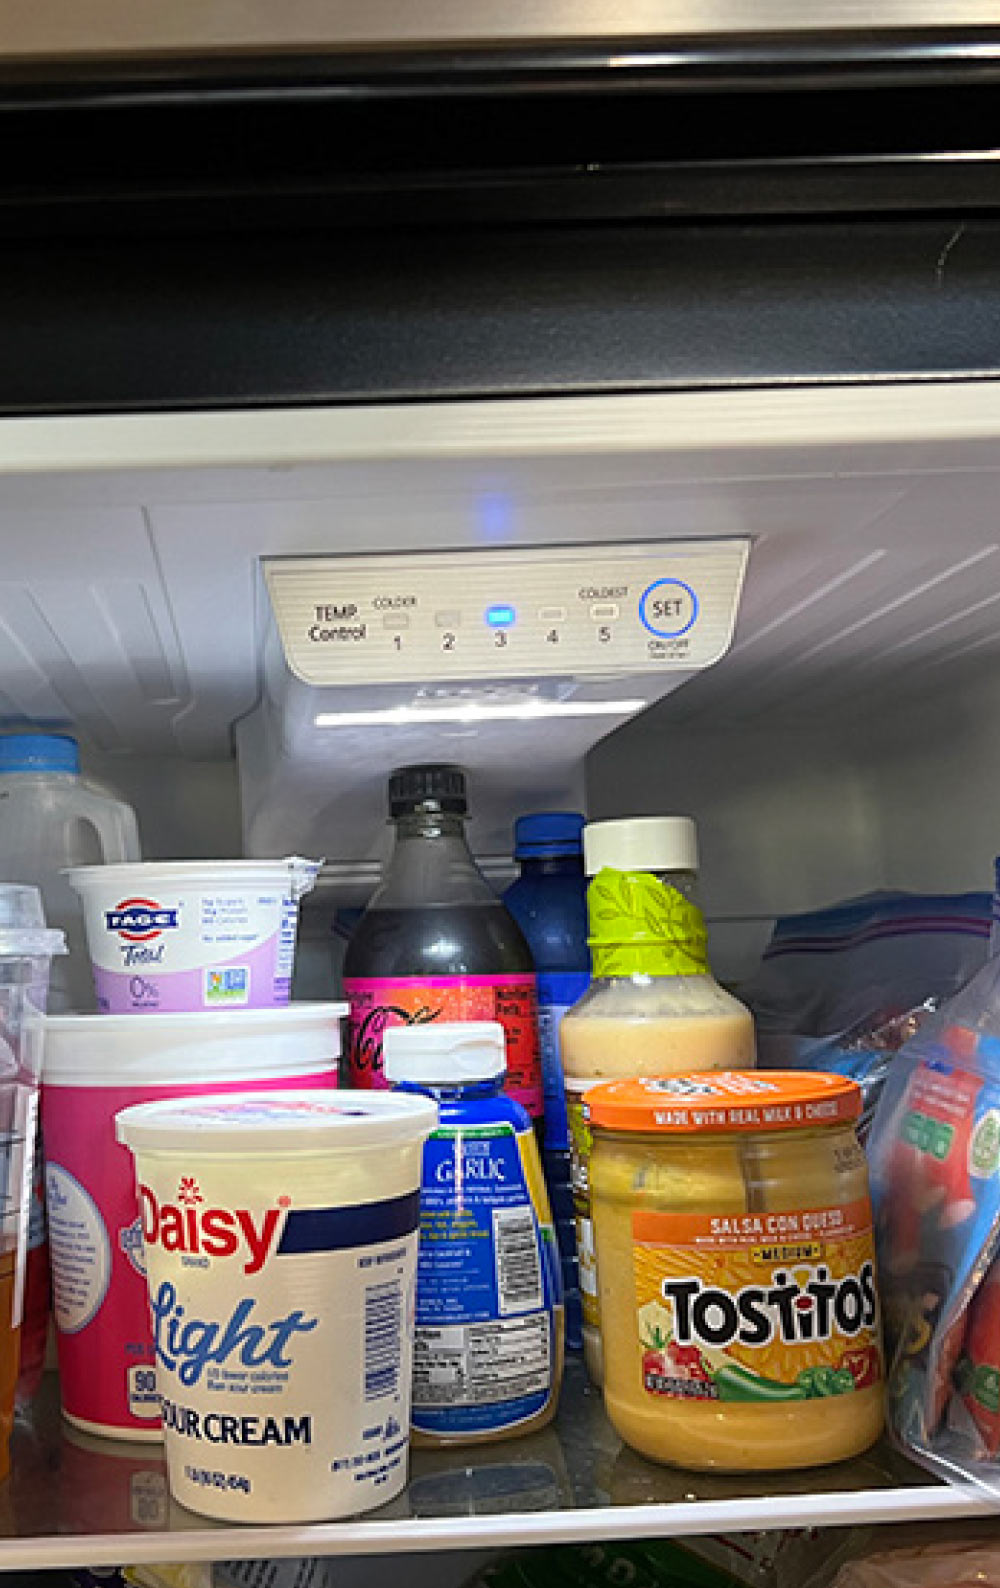
At the time of this report, the refrigerator had been running 24/7 for more than six months. Temperature inside did not vary more than two degrees, hovering around 39 degrees on the top shelf/side wall, where the wireless sensor is mounted. Temperature can be set using the buttons in the panel above the top shelf, and for all but the last two weeks of our test period it was set on No. 2 of 5. We moved the setting to No. 3 once the ambient temperature climbed closer to 100 degrees F and, again, the box temperature never varied more than 2 degrees. The light built into this panel provides plenty of illumination throughout the box.

Compressor noise is virtually indistinguishable unless you make a conscious effort to listen. We were initially worried about possible compressor noise inside the close confines of a fifth wheel, but we can only hear a slight humming sound when there’s total silence inside the rig — and it’s certainly not annoying. Just about anything you run or do inside the fifth wheel drowns out any possible compressor noise.
Keep in mind that the compressor does not run constantly, cycling only when needed to maintain the set box temperature. Calculating energy use depends on ambient temperature and how many times you open and close the refrigerator doors. The compressor draws up to 5.2 amps to bring the box from non-use to a safe temperature, and then around 4.3 to 5 amps per hour to maintain set temperature. Boondockers usually have instrumentation that can monitor the daily draw in amp hours and modify overall power usage to accommodate accumulated run time. Most RVs with solar systems can easily handle the power consumption without compromising livability. Those with smaller off-grid power systems can probably get by with a couple of Group 27 12-volt batteries and a 150-watt solar panel with an appropriate controller.

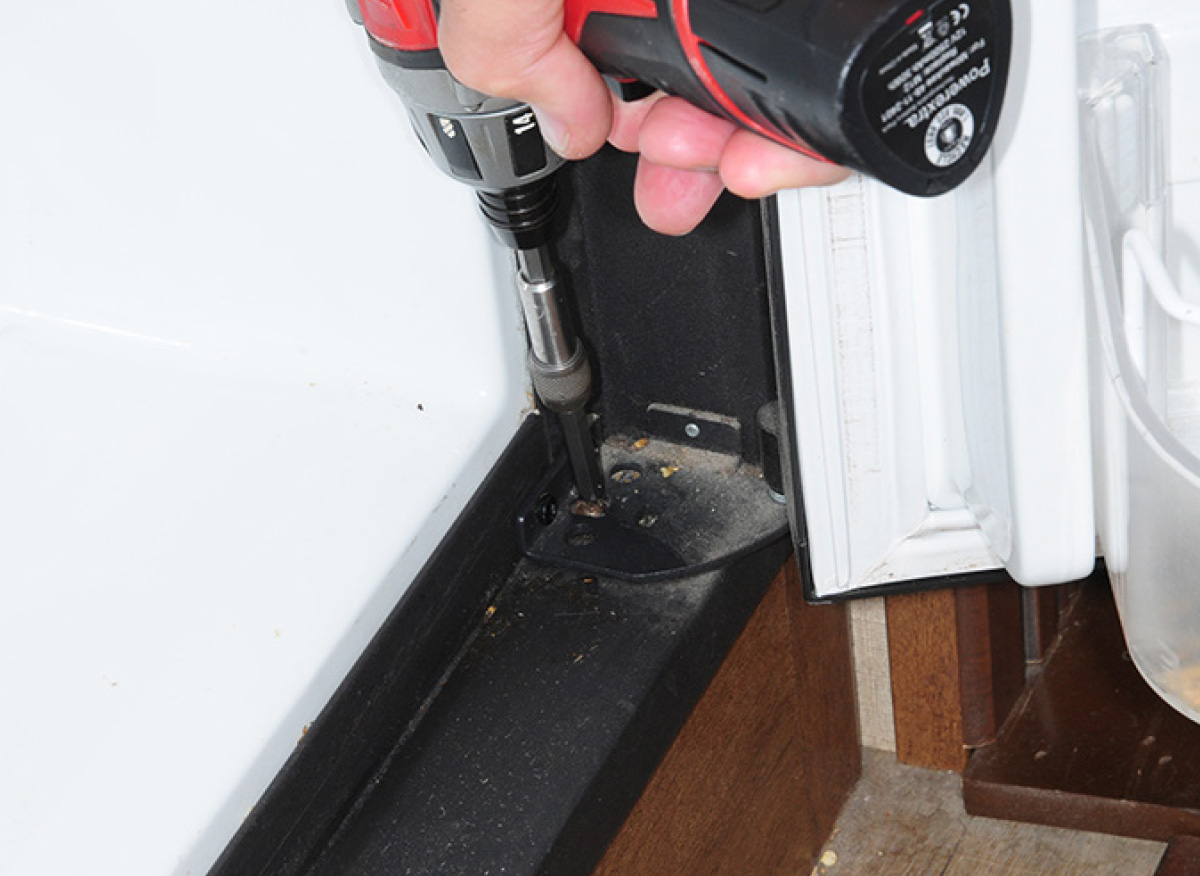
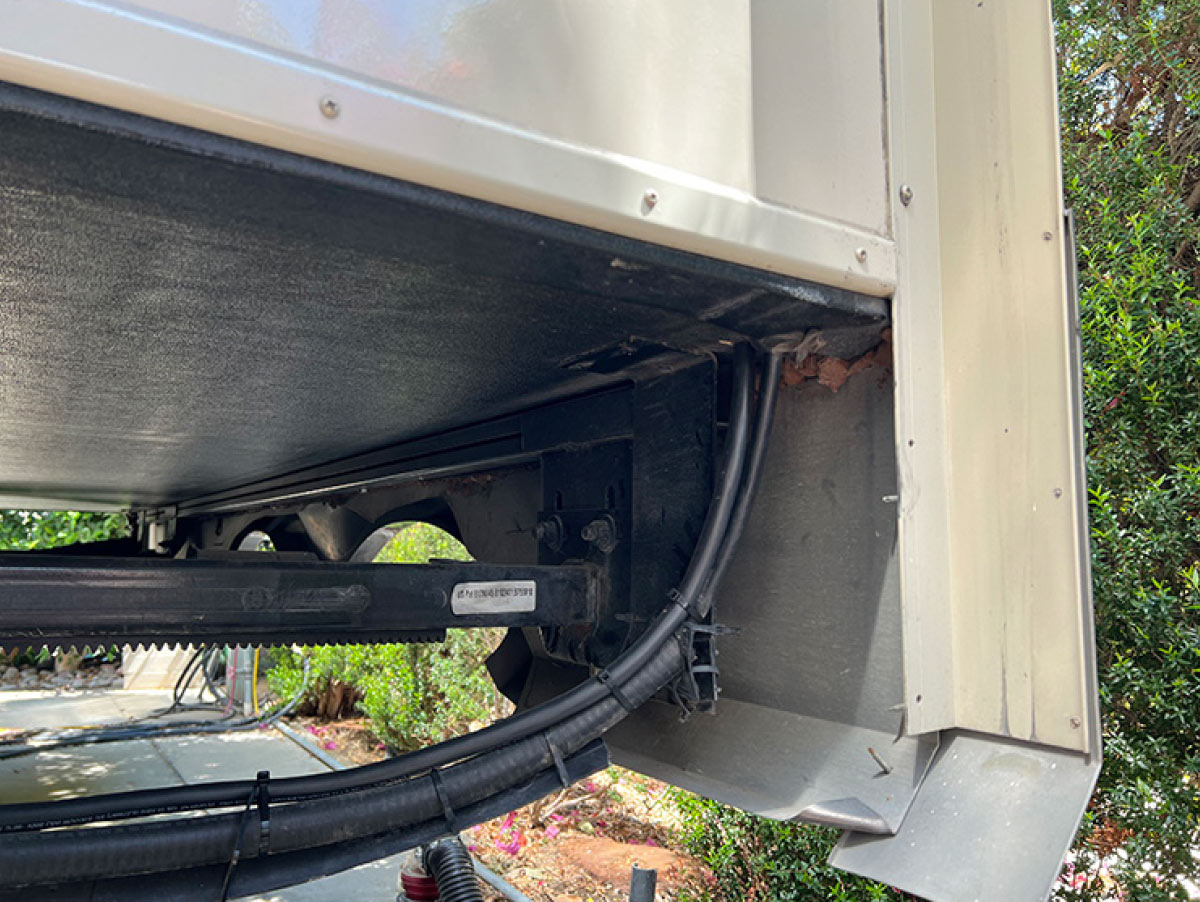
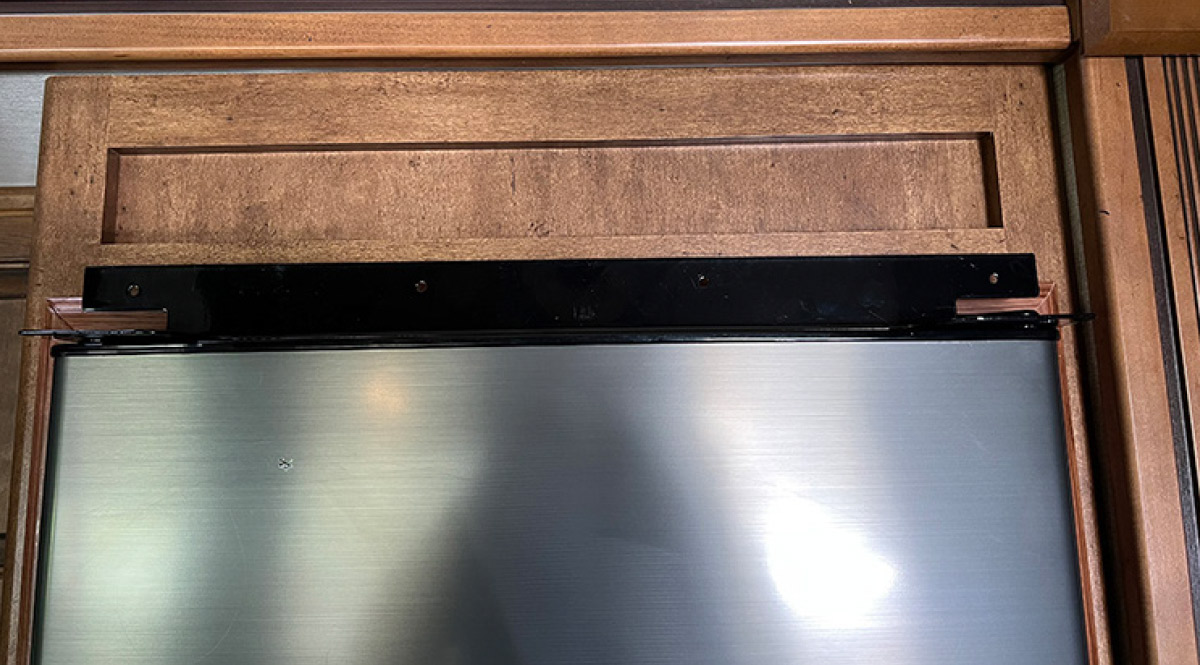
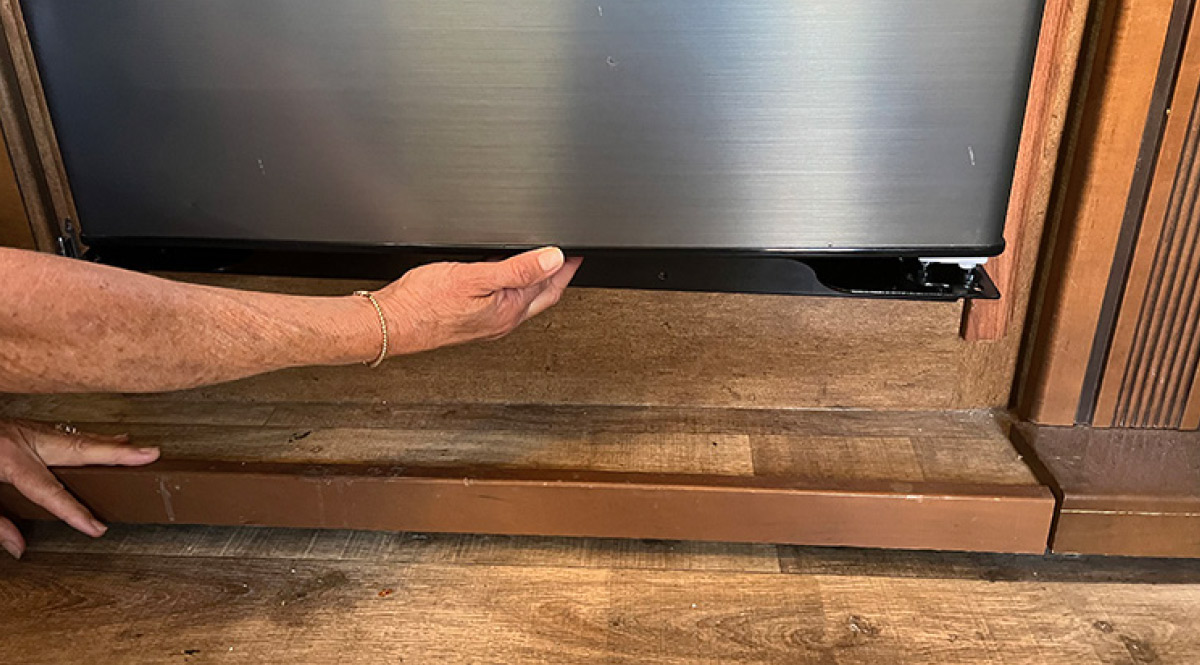
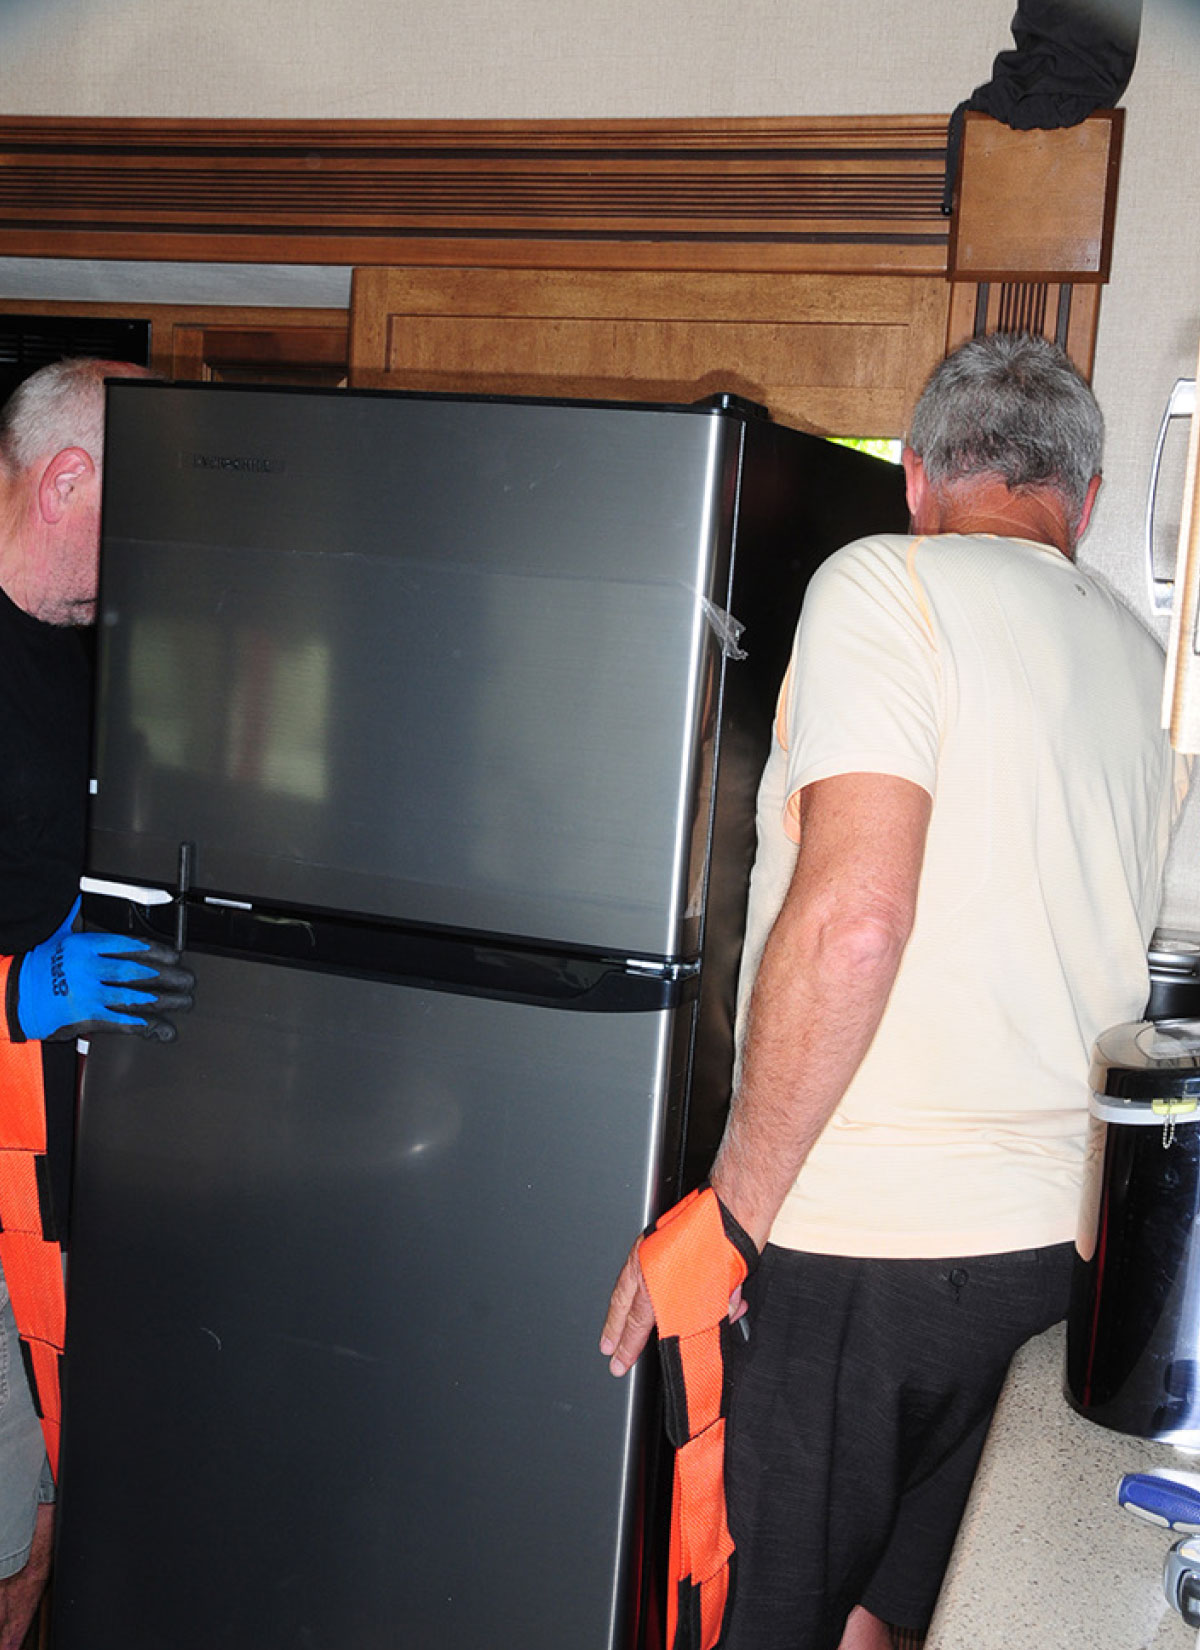
Mounting brackets were not provided with the refrigerator and there was no mention of how to secure it in the instructions. We learned later that specific brackets are available, which attach to the door hinges and the face of the cabinet. We took another route by cutting brackets to hold down the rear of the refrigerator and another to secure the front to the cabinet face below the lower door. The refrigerator fit like a glove in the original space, with only small openings on the top and bottom that, for our installation, were covered by trim purchased at a home improvement store. The trim was cut to size and pin-nailed to the face of the compartment. Existing vent doors were covered with heat resistant aluminized insulation. Installers can take some liberties when mounting the refrigerator, but the optional brackets will be the best way to go. This refrigerator cannot be flush-mounted with the cabinet; the doors must protrude at least 1 inch for proper operation and clearance.