


hile there’s no denying that RV manufacturers have made amazing strides in their quest to provide campers with a comfortable traveling home, each is still in the business to succeed — which means that every RV sitting on a dealer’s lot needs to appeal to as many potential buyers as possible. Mostly, that means what you’ll find are wood tones — and lots of them, at that. Aesthetically speaking, an RV designer’s palette made up of browns and tans and, more recently, whites, may not convey a specific owner’s personality, but neither are they especially off-putting.
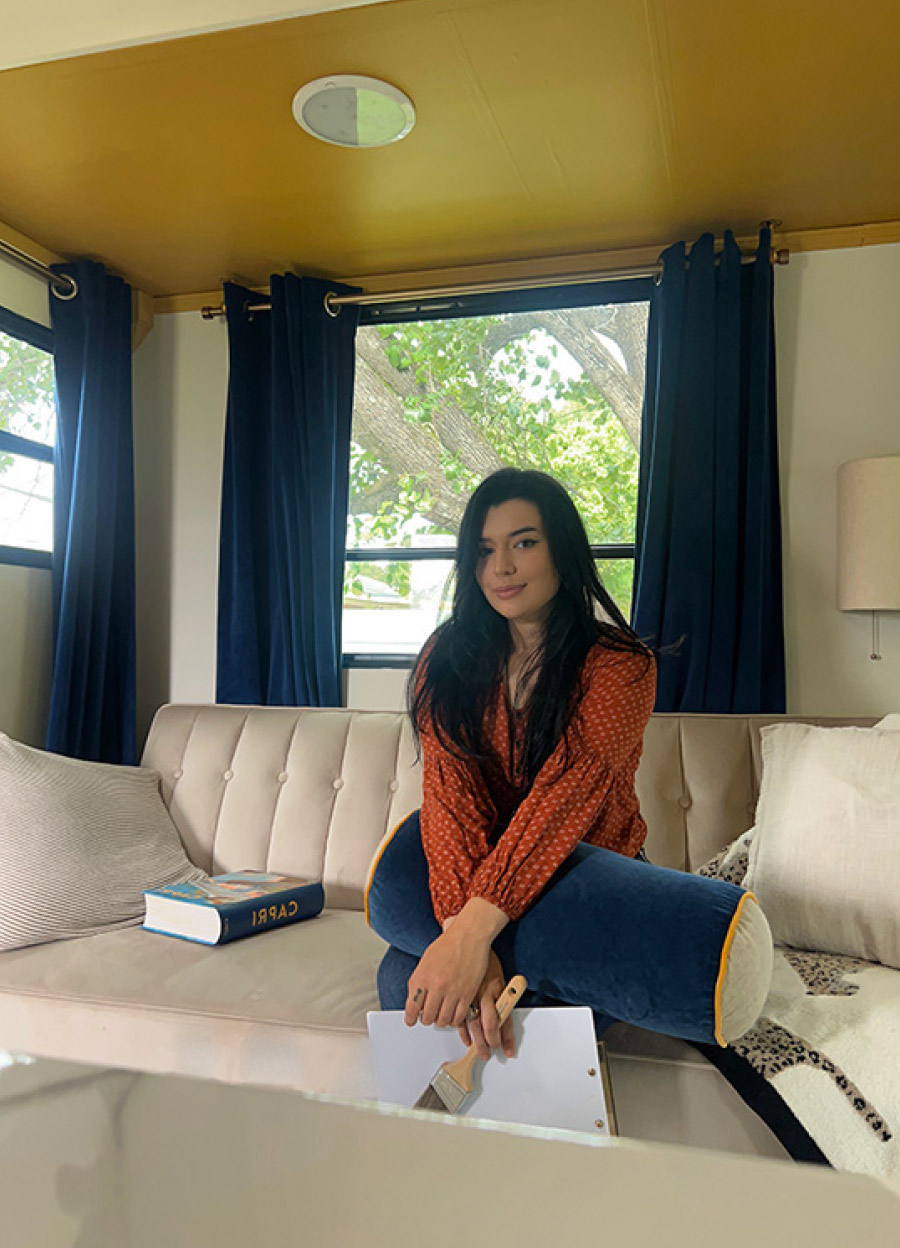
Someone like Tessa Terry. While relatively new to the growing cottage industry of RV renovators, the young mom from Andrews, South Carolina, has operated in a designer’s world for years. “My parents owned a Victorian lampshade company and I’ve worked around a lot of top designers my whole life,” she said. And while that niche provided her an outlet — in the Disney movie “Haunted Mansion,” she created all the lampshades used — it wasn’t until she and her husband, Aaron, began renovating their Victorian house while living in a tiny home that she began to understand the attraction of living in a small space. Since then, she’s customized nearly a dozen RVs as the proprietor of Alchemy RV Renovations (alchemyrvrenovations.com).
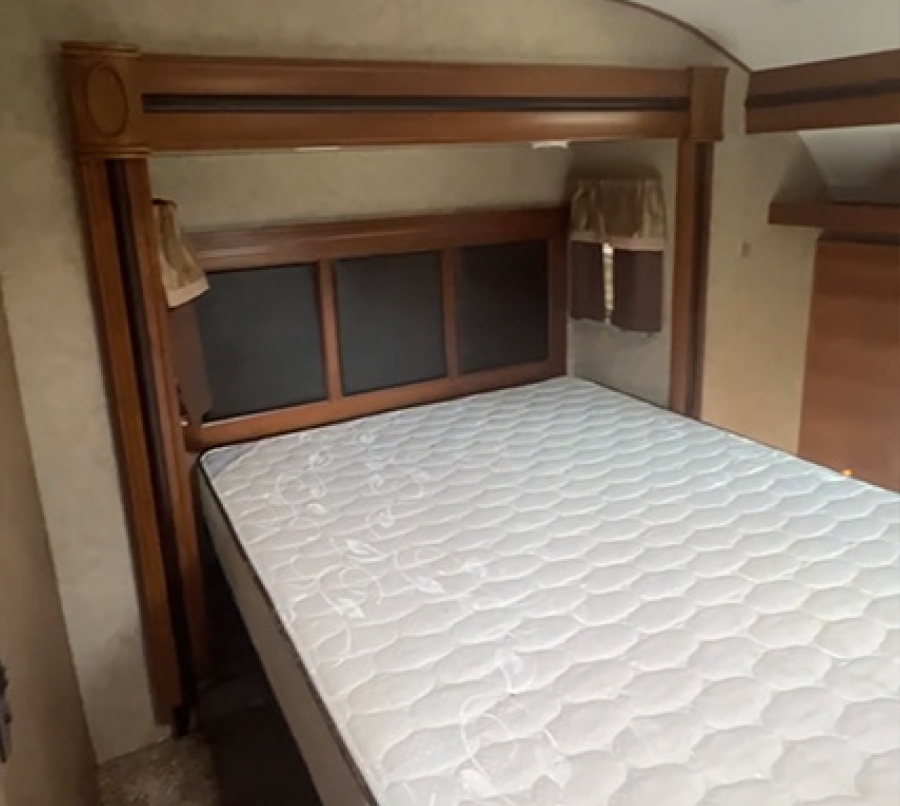
“Ever since I was little, I’ve walked into spaces, into rooms, and redesigned them in my head,” she told RV Enthusiast. Her first renovation was a 32-foot 2009 Forest River Flagstaff travel trailer which was renovated in a “European farmhouse style.” The Flagstaff soon sported features including a custom-made headboard, framed-out windows, hand-painted door edging and faux marble countertops. Other renovations included a Forest River Hemisphere bunkhouse, Forest River Tracer and a Puma Palomino. And while she usually seeks out and buys used RVs with “good bones” for renovation, the Tracer and Palomino were commissioned by clients. Costs can range from “touch-ups” for about $5,000 to complete renovations ranging from $30,000 to $40,000.
“It usually takes a couple of weeks to work out the design beforehand,” she added. “It’s not just a single moment — it’s a process. And as you go along, don’t be afraid to change things.”
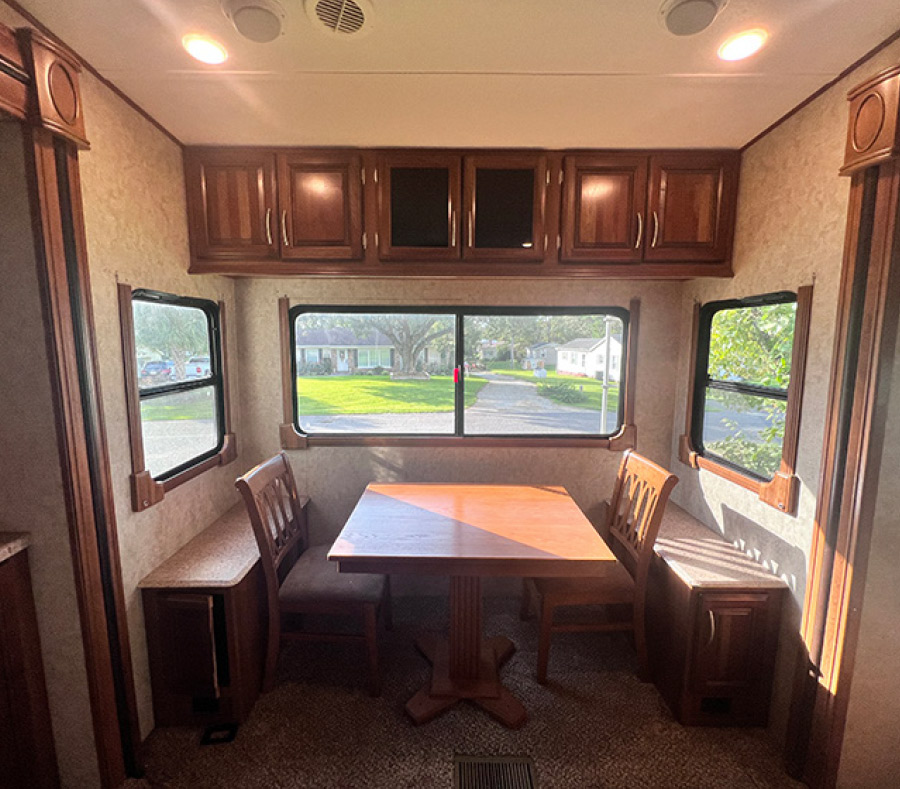
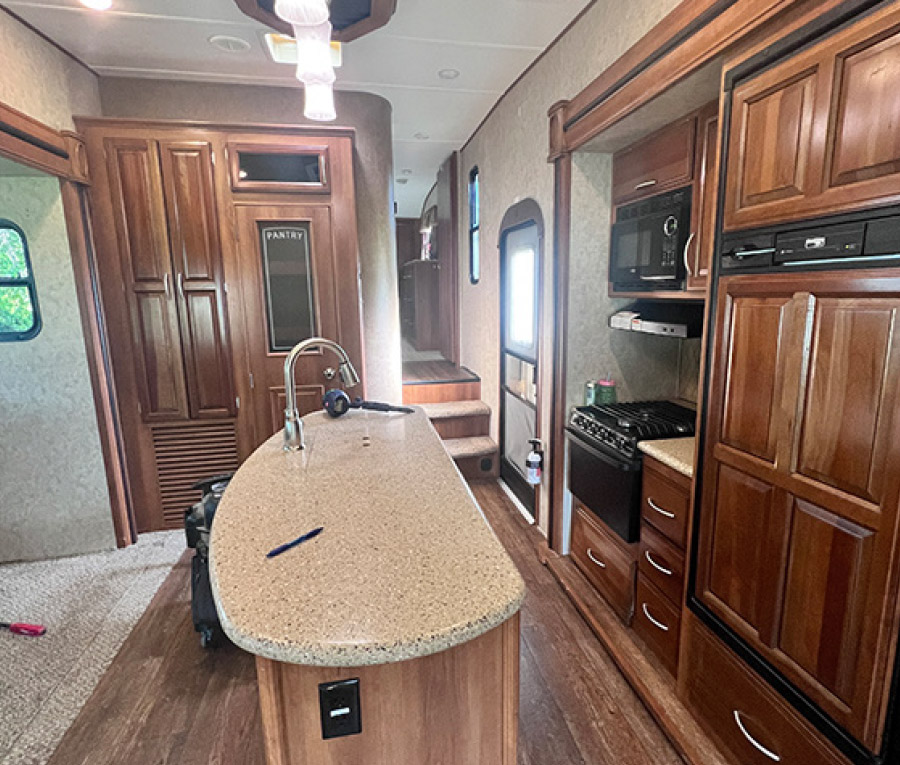
Her most recent renovation started life as a 2016 Prime Time Crusader fifth wheel, though nothing like this has ever made it down the assembly line of the Forest River division.
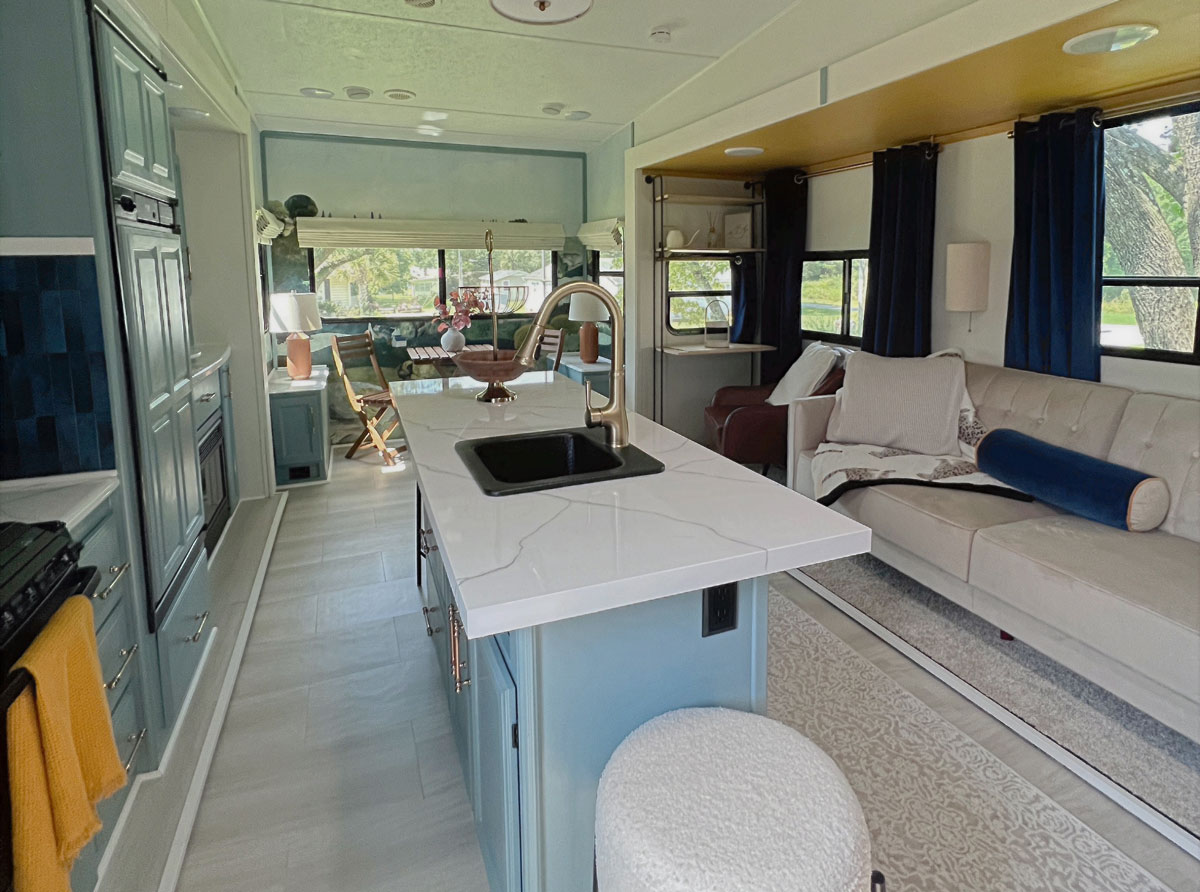
“I love working with fifth wheels, because of the interior height — it just feels like a home,” she said. “But with this one, I really loved the layout, especially with the big pantry and the kitchen island. I literally could envision the changes I wanted to make within a couple of minutes of being in that space.”
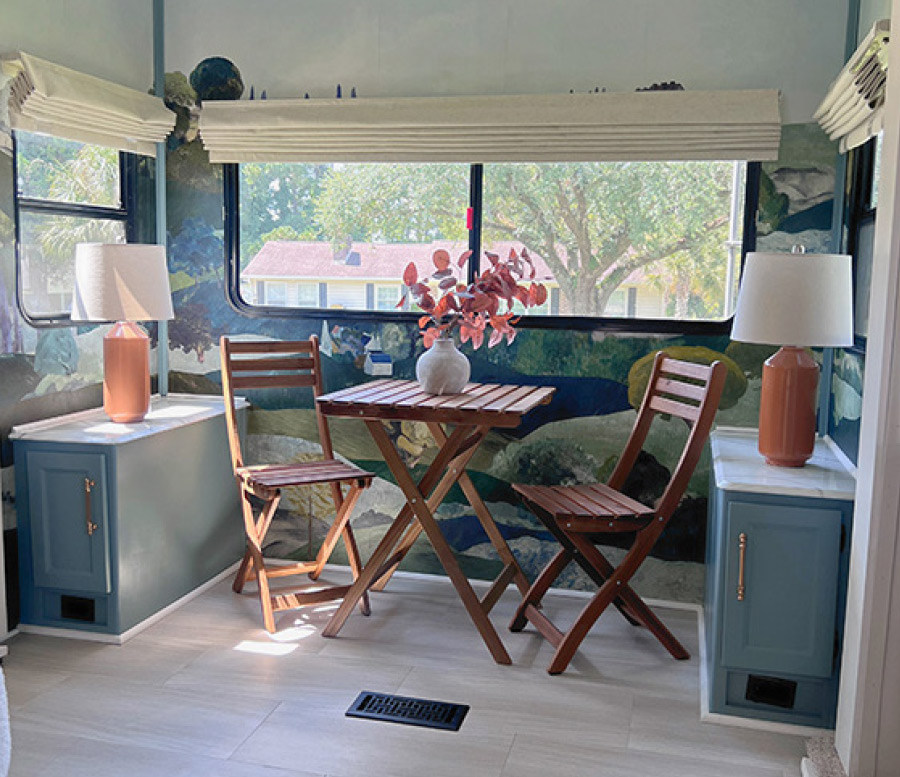
As newly designed, the Crusader now features (in no particular order) a revamped kitchen island with seating, a designated built-in workspace, foldable dinette set, a queen bedroom suite with washer and dryer combo, large walk-in shower with seating, “smart” TV, electric fireplace, sofa bed and custom residential lighting throughout.
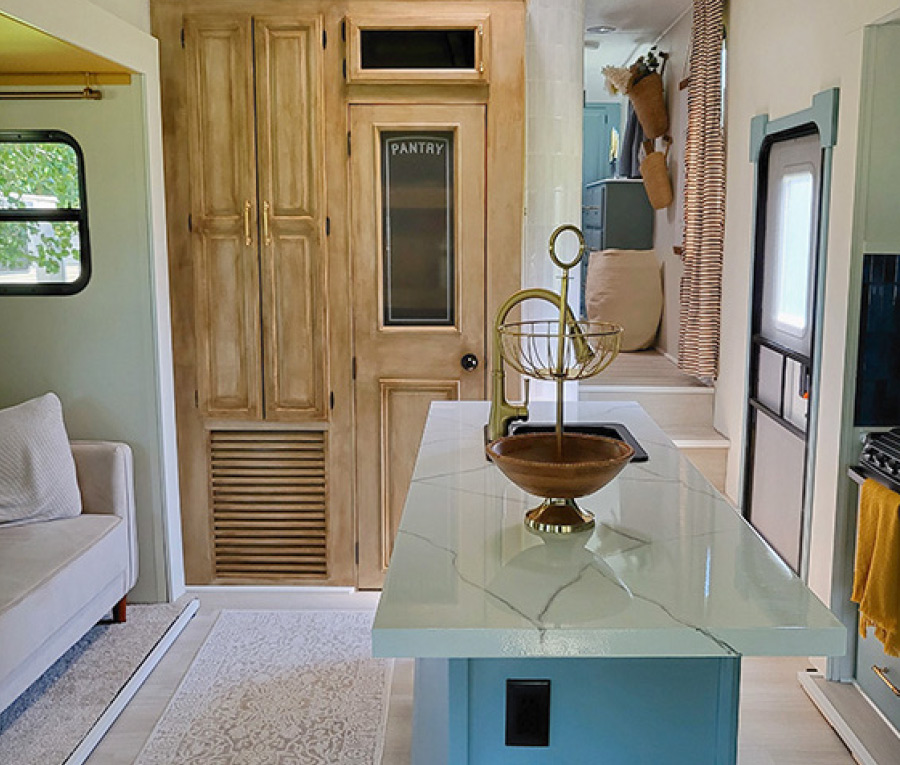

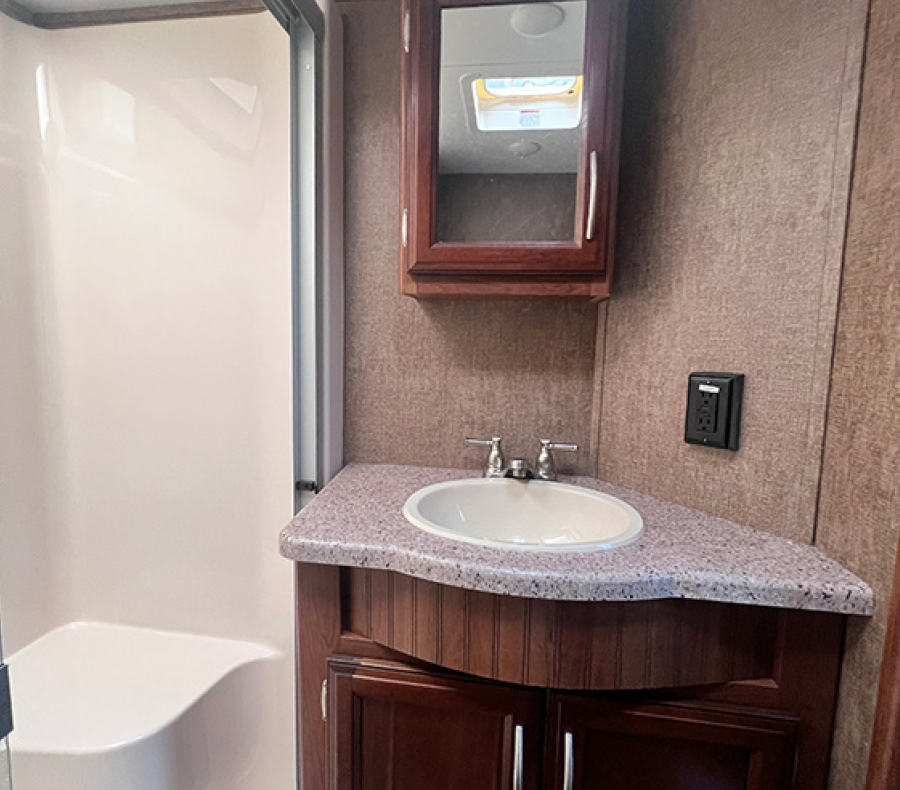
“All the countertops were done the same way,” she said. “The epoxy finish makes it durable for everyday use.”
The interior is, for the most part, refinished in a combination of colors by Farrow & Ball, Tessa’s favorite paint brand: the walls were covered in Schoolhouse White, while the cabinets sport Oval Room Blue hues.
“I always tell people, if you paint correctly you can clean your walls and cabinets without ever worrying about chipping and peeling,” she said, adding that it all depends upon how well the surfaces are prepped beforehand. That process includes sanding “every inch” before cleaning them with TSP (trisodium phosphate). The surfaces are then treated with Zinsser BIN primer.
“That’s my ‘go to’ primer,” she said. “A lot of renovators say they use BIN without ever having to sand, but I sand everything.” The primer is added in several thin coats, followed by multiple thin coats of paint.
Interestingly, Tessa doesn’t use a paint sprayer, opting instead to use brushes and rollers in a technique she’s perfected over the years.
“It’s a little hard to explain,” she said, “but I brush on the paint then very quickly follow it up by lightly using a foam roller. I learned how to do this years ago when I was refinishing furniture.”
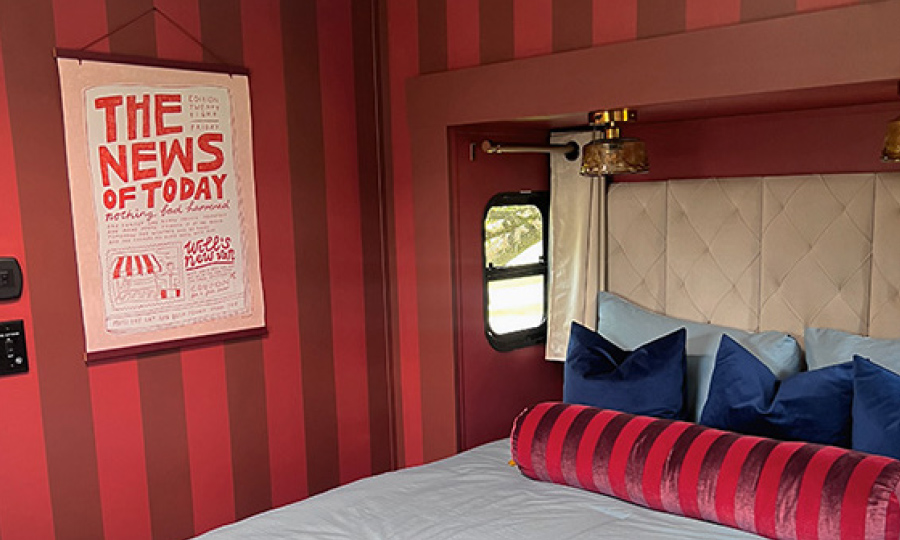
Step 2 — Tape off stripes (a laser level makes this much easier). Make sure they are exactly the same width if that’s the look you’re going for.
Step 3 — Get that base wall color out again and paint the edges of the tape. This will seal your seam and give you the crisp edges.
Step 4 — After that’s dried, roll on your secondary color.
Step 5 — While the last coat is still wet, slowly pull off your tape. Waiting until it’s dry can leave a jagged edge.
“I get my ideas from everywhere,” she said, “and got a shopping bag about two years ago that had those exact colors. I really loved how they looked, and knew I would have a space eventually where it would feel right to use them. I took that bag to five different paint stores — and was turned down by four of them. I finally found someone at a Sherwin-Williams store that was able to recreate the colors.”

“I knew how to change a light fixture in my house, but I had to relearn how to do it in an RV because it’s wired differently,” she said. “The painting is different from a home. You have to learn new processes; sometimes it’s going to be trial-and-error, but you just have to go with it.”
Above all else, however, she stresses the need for everything being user-friendly.
“I’ve always been a big believer in that you don’t have to sacrifice practicality for good design,” said the “imaginer” who was planning on a cross-country trip this fall and winter as she calls on clients. “Practicality is important in an RV — if you don’t have it, you end up with a space that’s fun to look at but not to use. So, it’s foremost in my designs. I’ll use sofas that are stain-resistant or luxury vinyl flooring that’s easy to clean or paint that can be scrubbed clean if you get a mark on it. Because in an RV, things are going to get dirty.”