ulling a fifth wheel with a pickup truck makes it necessary open and close the tailgate several times a day. You know the drill: open the tailgate to hitch up, close to get going, open to unhitch, close to use the truck as a daily driver, open to unload chairs and other things, and so on. It’s not rocket science, but I can’t even remember how many times I’ve had my hands full and accidentally let the tailgate slam open. And, unfortunately, there’s a lot of weight in motion when the tailgate falls open — and over time, the wear-and-tear on the hinges can lead to expensive repairs, not to mention the sheet metal damage if you happen to let it fall onto the A-frame jack when a travel trailer is still hitched up.
The Install
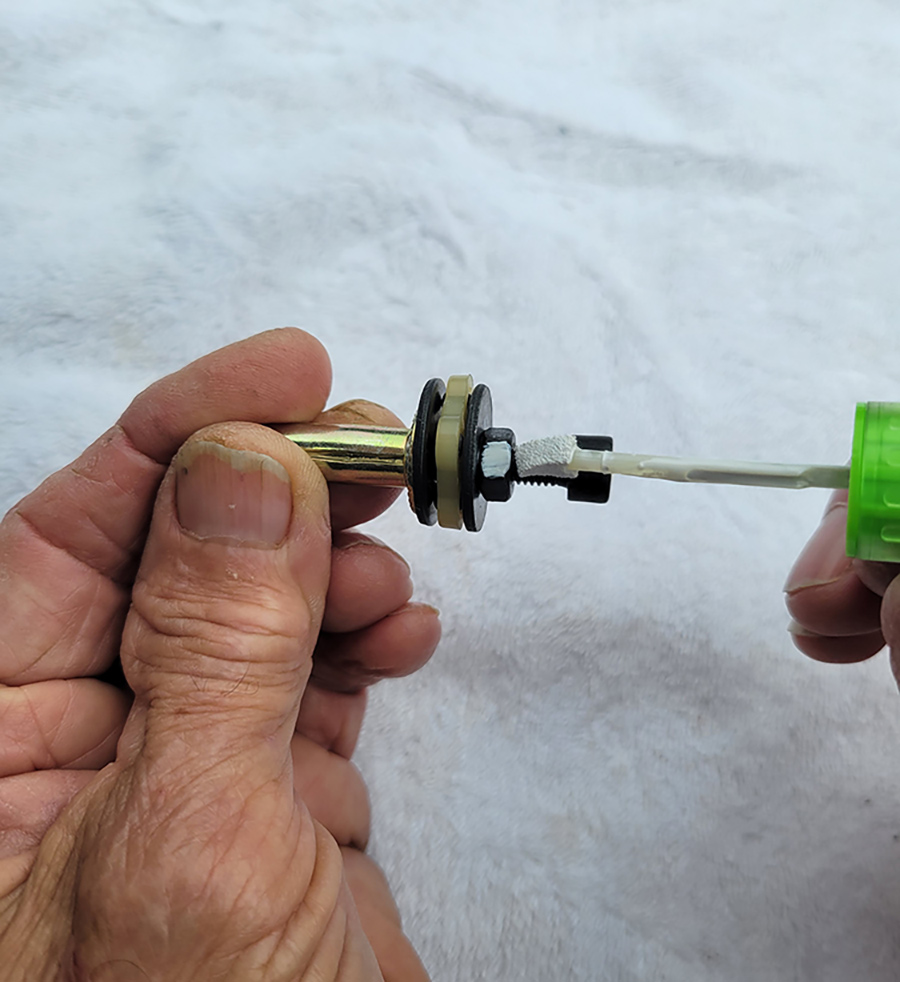
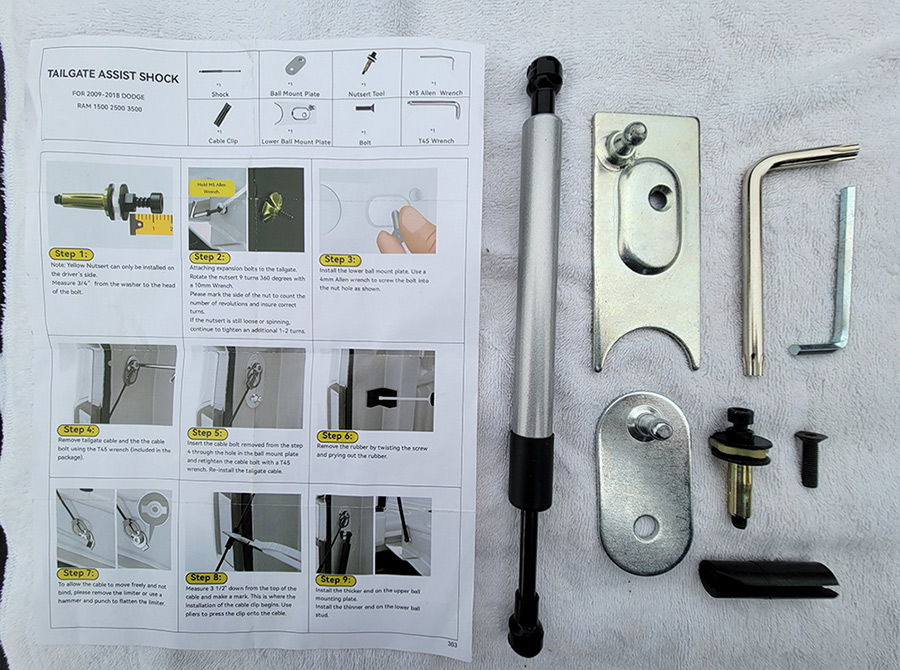
The first thing I noticed was that the directions were vague, prompting me to improvise somewhat. For example, the instructions did not call for the removal of the bolt in the rivet nut (an inserted fitting with threads). It was obvious that you had to remove the bolt, but it might be confusing to some people. I also quickly figured out the need to wear gloves when installing the rivet nut into the tailgate because the Allen wrench would dig into my hand from the pressure necessary to tighten the rivet nut properly. The rivet nut was also sloppy when positioned in the existing hole in the tailgate, requiring a lot of pressure to hold it in place while the bolt was tightened to flair out the material as it seats into the sheet metal.
As hard as I tried, it still came out a little bit crooked, but sufficed. The directions call for rotating the rivet nut nine turns for proper seating, which means you’ll have to mark the side of the nut with a felt pen (or Liquid White-Out) so you can count the revolutions. That said, the wrench covers the nut, making it difficult to count turns. If the rivet nut is still loose or spinning in the tailgate it must be tightened two additional turns (as per the instructions), which is what we needed to do for proper seating in this case. However, be careful you don’t overtighten the rivet nut; if you strip the threads, you will likely not be able to purchase another one without buying a complete kit — and you’ll have to wrestle with getting it out.
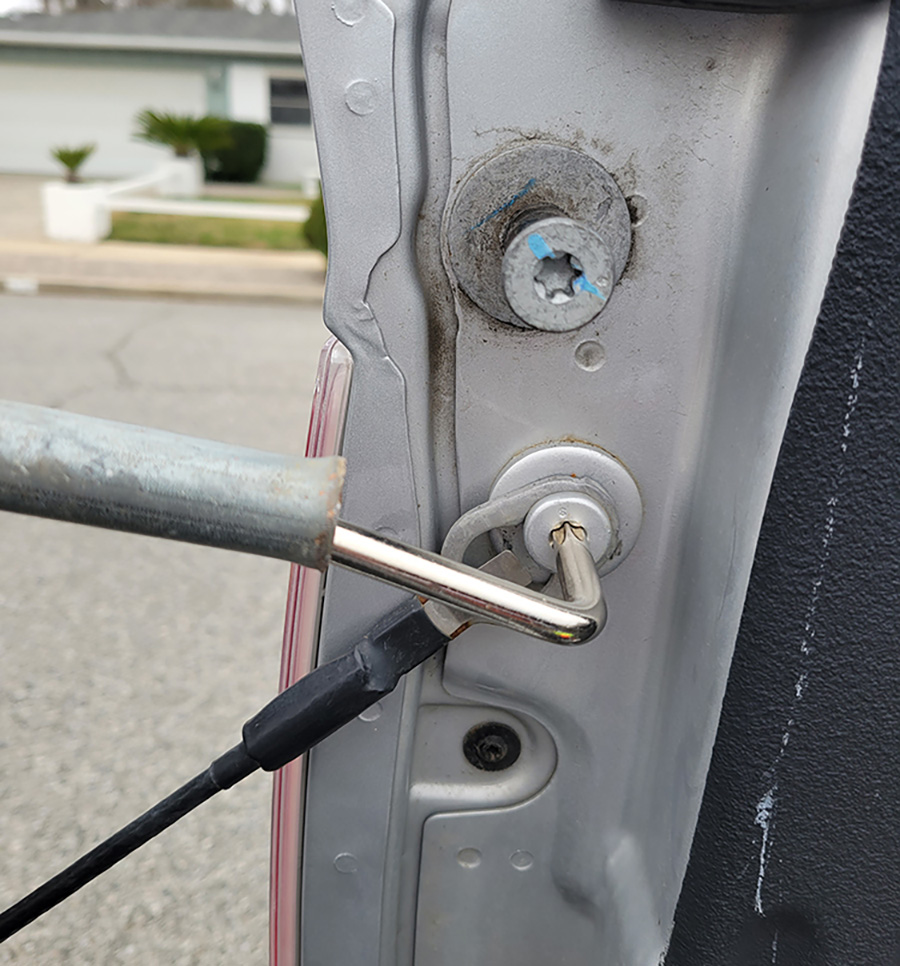
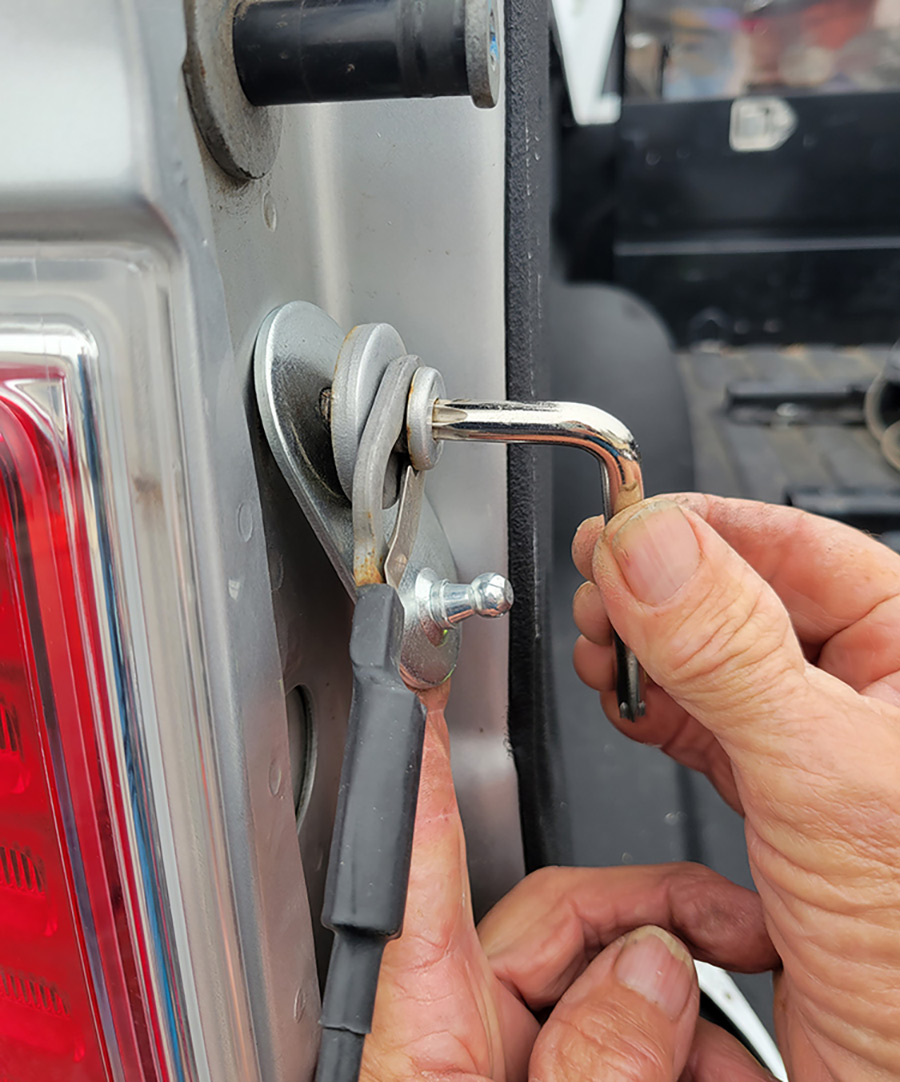
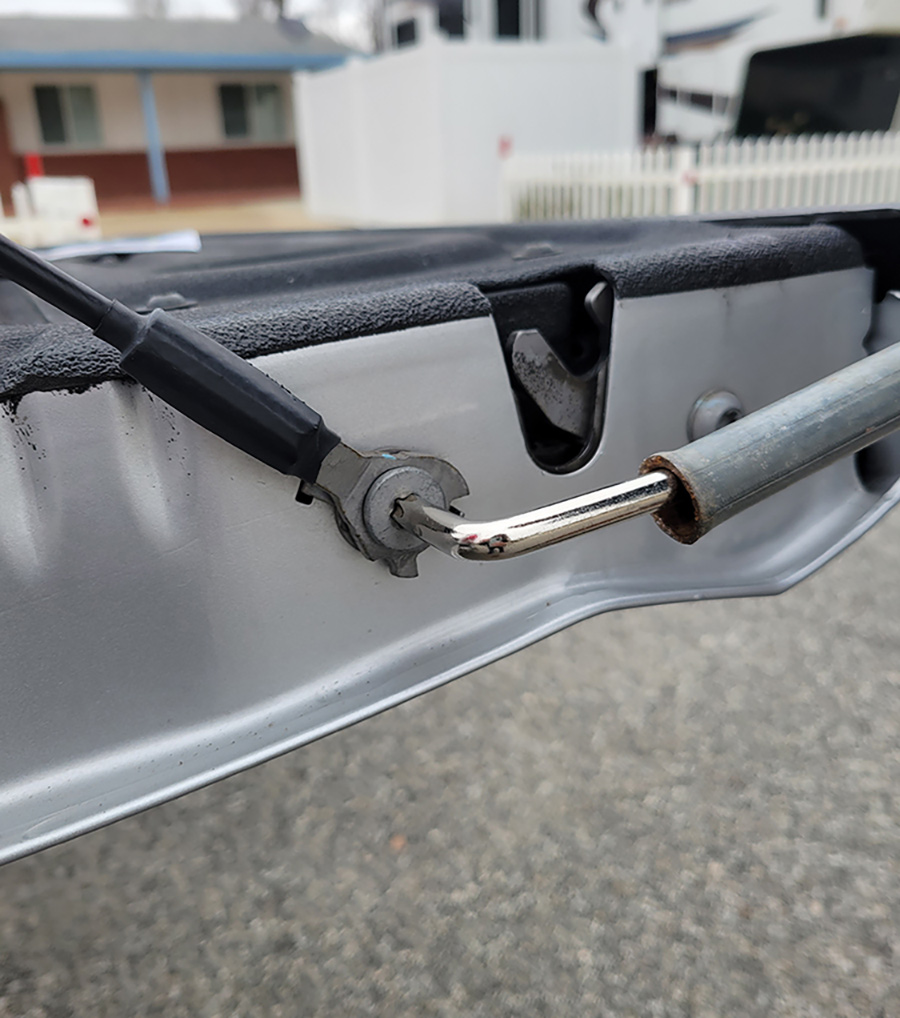
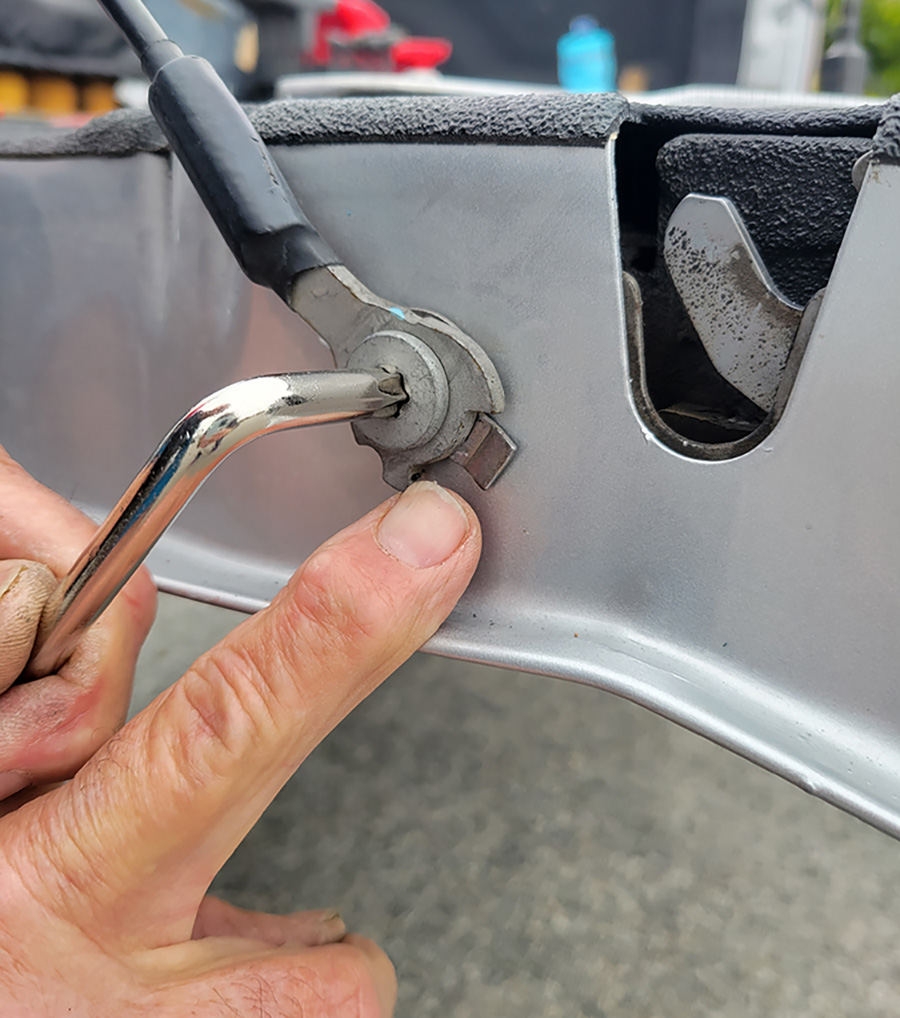
Once the rivet nut was seated, a lower ball mount plate was installed using a 4mm Allen wrench to screw the bolt through the plate and into the tailgate. Here again, the directions were rather vague, but a little intuition clarified the process. Next, the existing cable and bolt that’s connected to the truck bed were removed using the supplied T45 Torx wrench. This cable is what stops the tailgate from opening too far. I had to use a short piece of pipe on the wrench because the bolt was much tighter than what the small Torx wrench could handle; gloves also helped here. (Note: We used the provided tools to determine if they would work; most do-it-yourselfers will have more robust tools. I recommend a long handle ratchet with a Torx socket.)

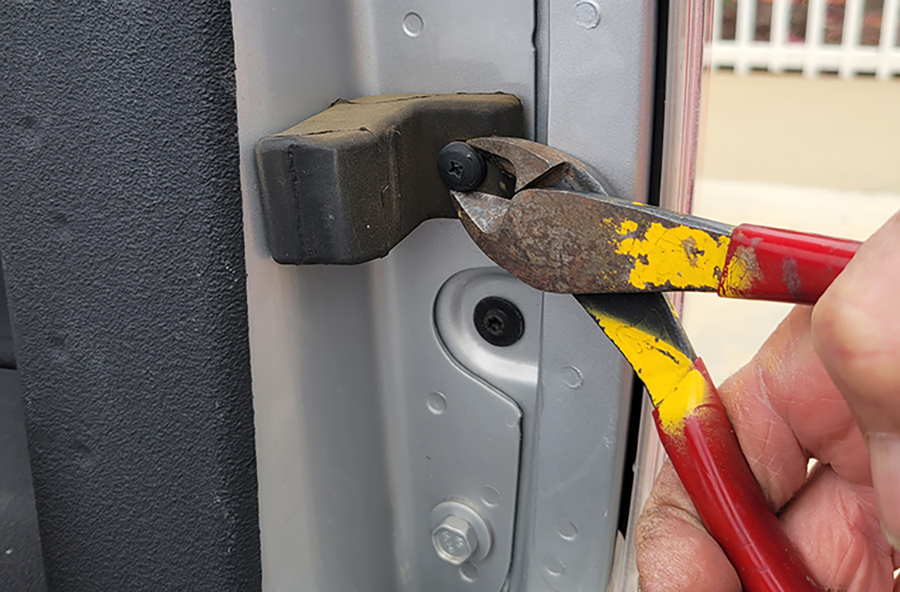
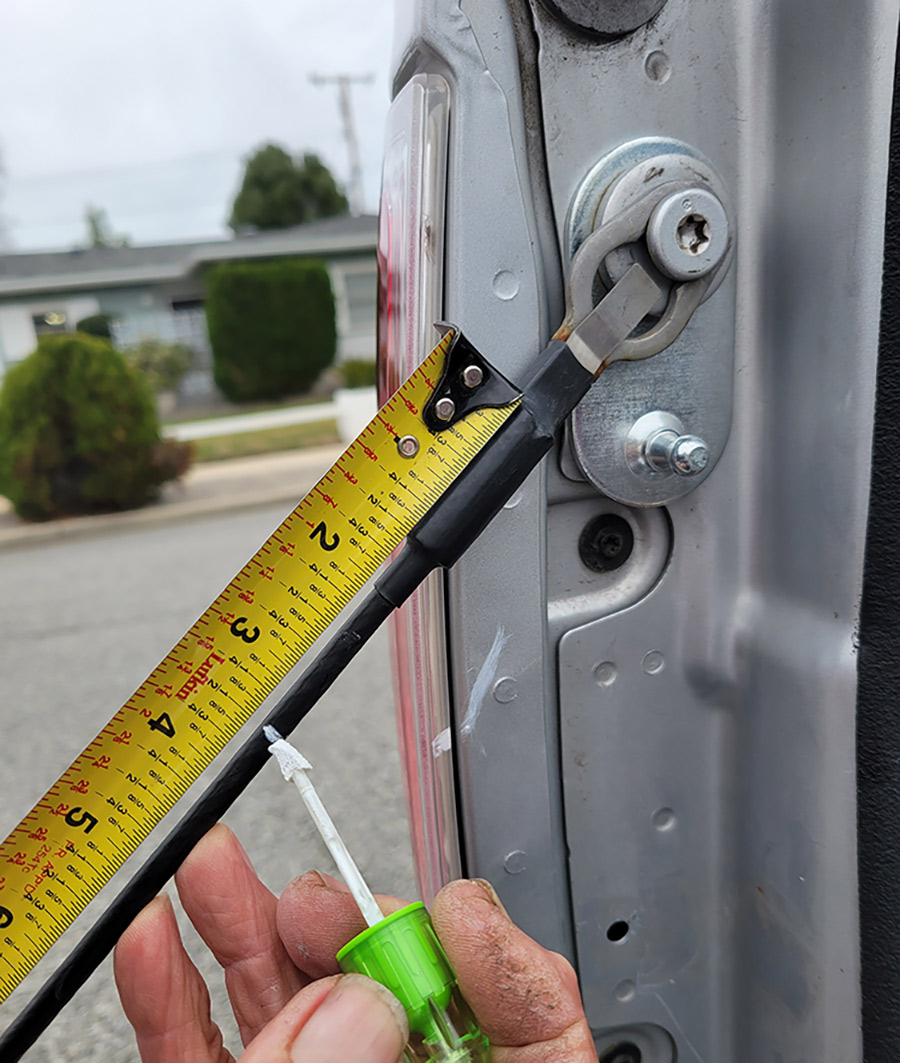
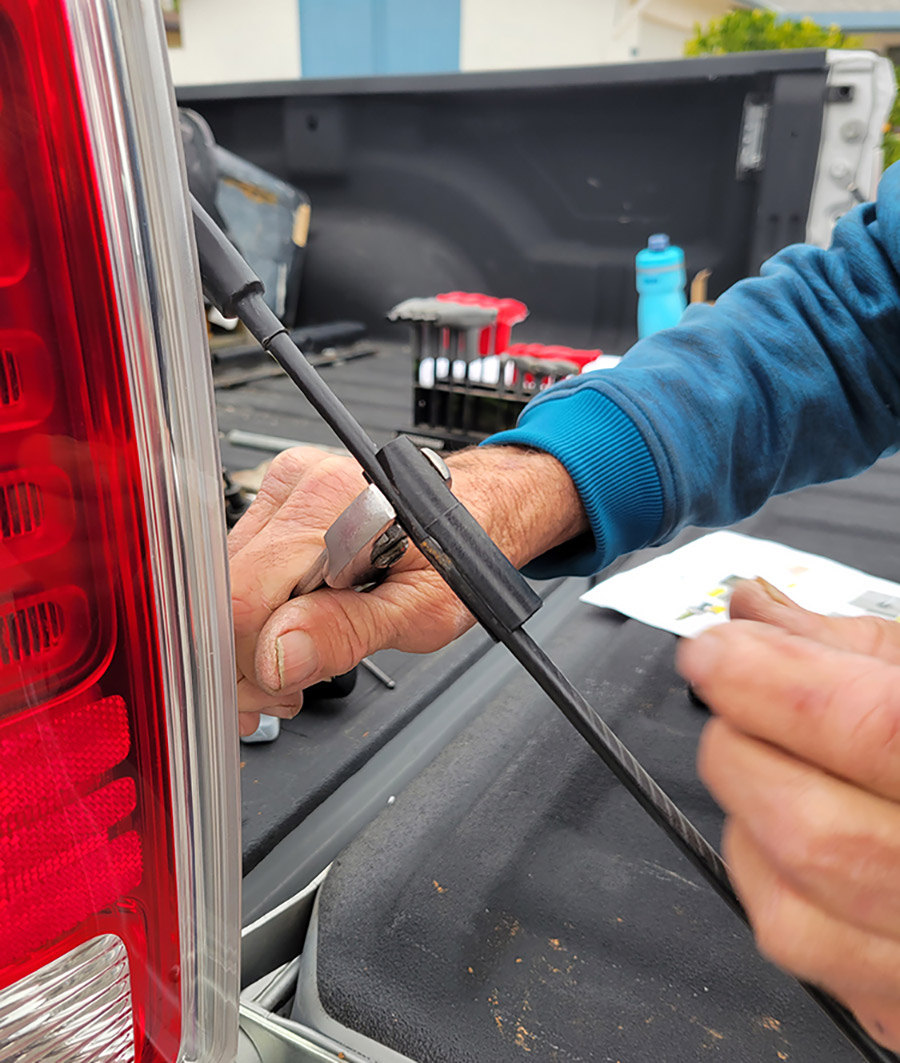
The bottom end of the cable and limiter that is attached to the tailgate were then removed. The tabs on the limiter needed to be flattened with a hammer and punch — again, to prevent interference with strut movement when the tailgate opens and closes. To keep the cable away from the strut during tailgate movement, a provided clip was installed 3 ½ inches from the top. The installation point was marked with White Out (a black felt pen will not show on the black cable) and the clip snapped on with pliers. This may seem easy, but it was difficult to slip the clip over the cable at first. I found that using a little bit of WD-40 helped make it work (there was no mention in the directions of using a lubricant here to facilitate the process).
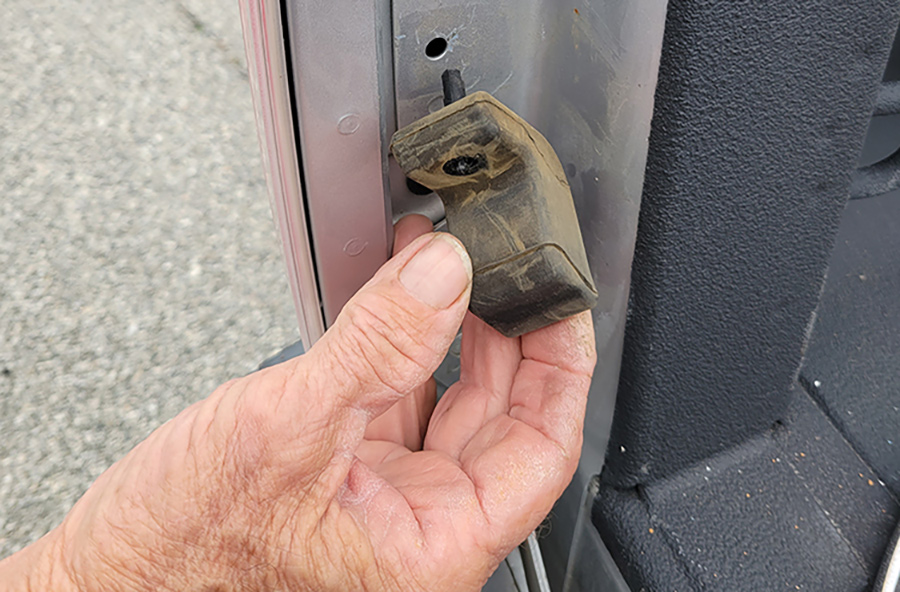
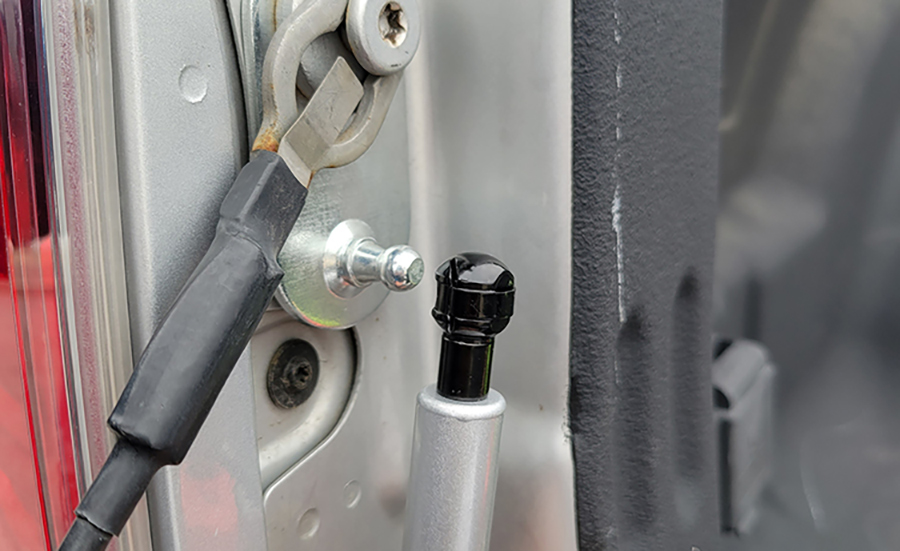
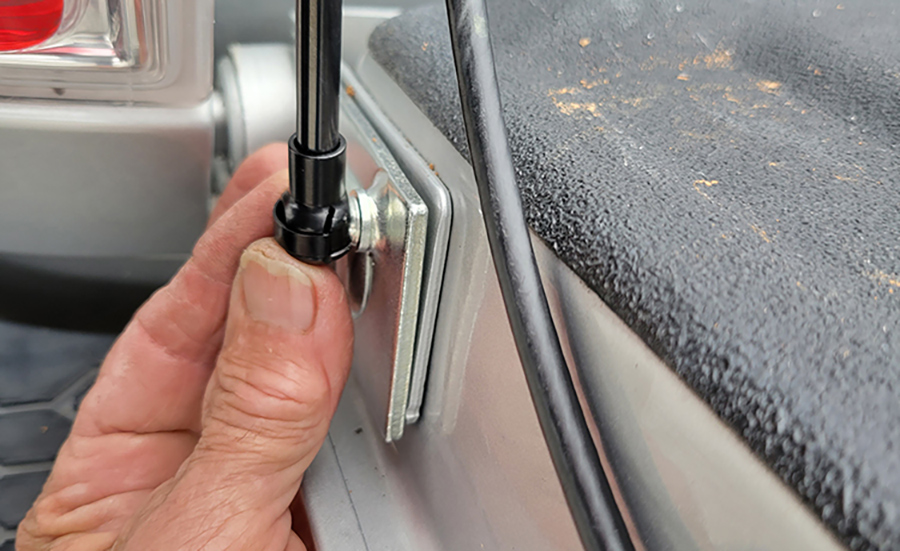
The final step was to install the gas strut with the bigger body end on the upper ball (mounted below the upper cable) by pushing the clip in place; the lower ball (on strut the end of the arm) was then installed, and the job was done. The upper and lower balls can be released by using a screwdriver to pry the retaining clip outward while pulling on the gas strut.
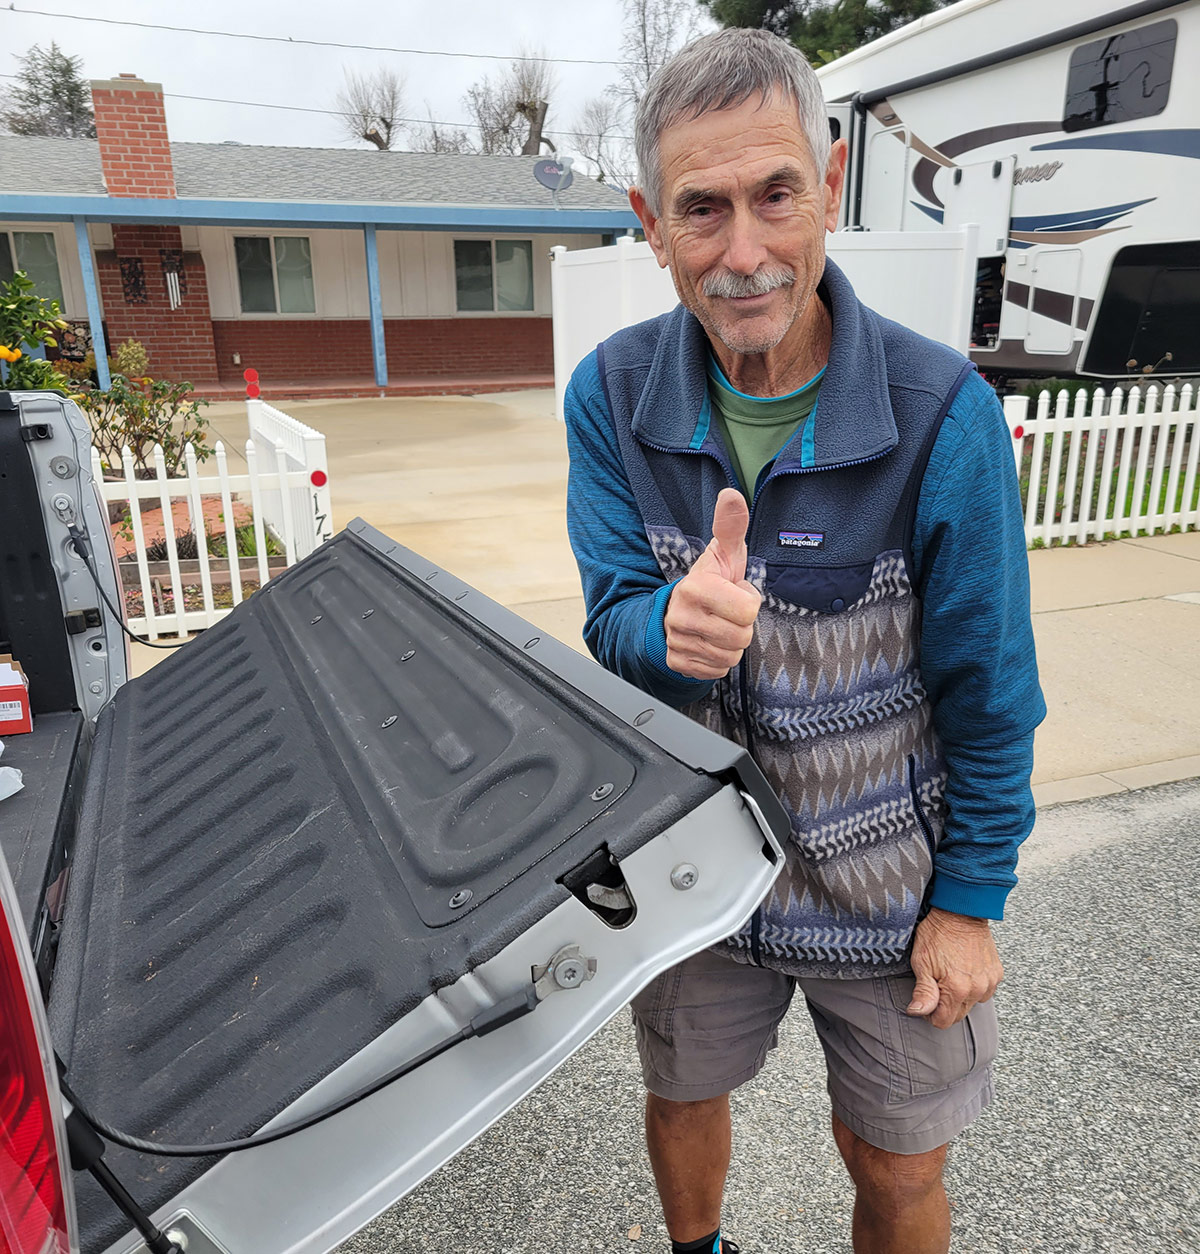
Satisfied with the installation, I released the tailgate latch and watched it slowly drop to its fully open position. I was pleasantly surprised how smoothly the tailgate glided without any interference on the strut. I opened and closed it a few more times to make sure that something didn’t bend or move — and at that point, I stopped thinking about buying a new truck.