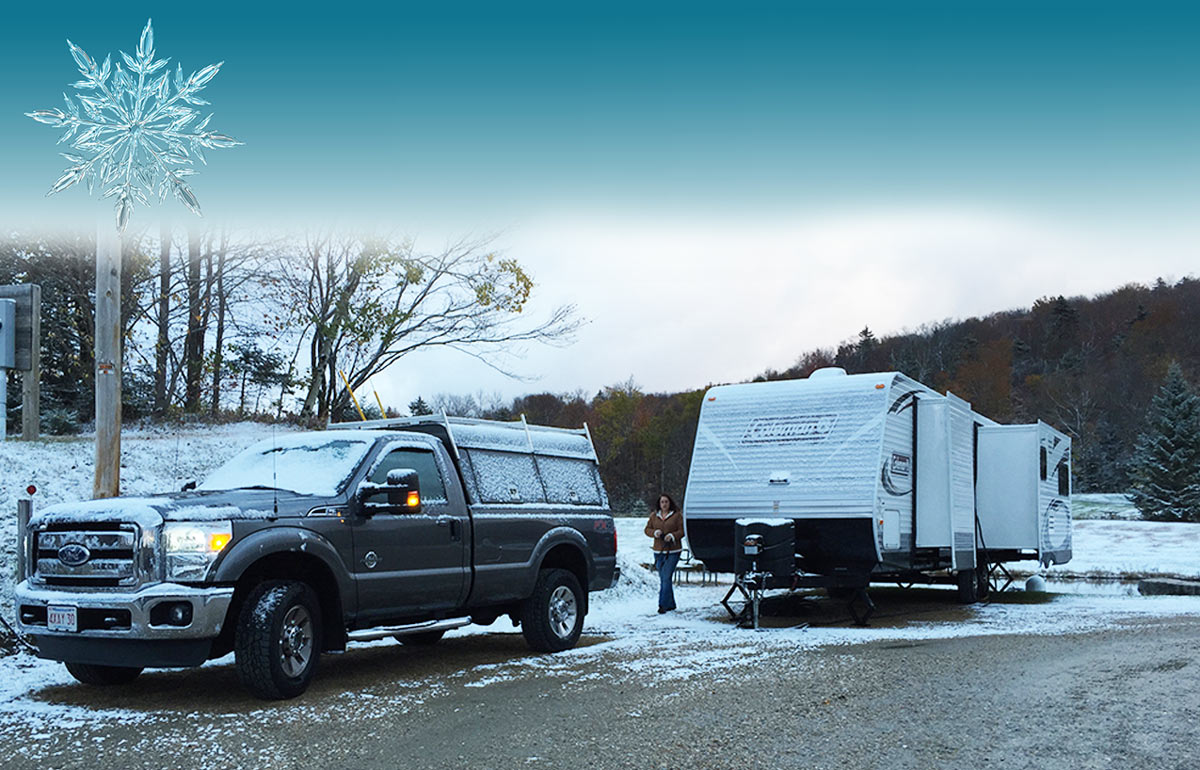

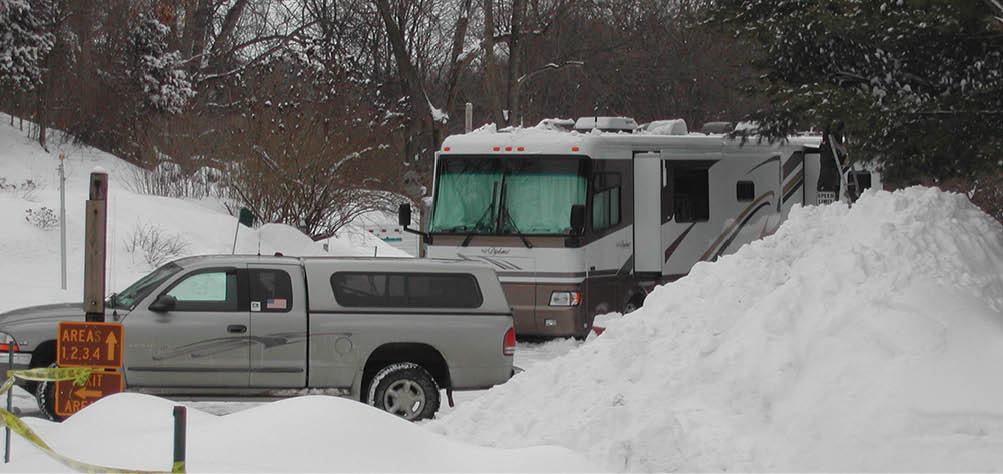
amping during the winter months definitely has its challenges, especially in areas where it’s not uncommon to see temperatures dip below 20 degrees F every night. Throw in periodic snow and rain that turns to ice, and the mettle of even the most seasoned RVer will be tested.
Not all RVs are created equal; if you’re in the market for a new RV and you tend to go camping year-round, think about purchasing a well-insulated RV with a package that offers protection in cold weather. These packages usually have additional insulation in areas that are prone to freeze-ups, heated underbellies to include protection for the holding tanks and, in many cases, dual-pane windows, which are a “must” in cold weather — and can also improve cooling efficiency in hot climates. Even without these factory-added protections, however, with a little knowledge and preparation you can overcome many of the mysteries — and fear — when setting up your RV in areas where the thermometer dips below freezing.
Stay Informed — and Safe
Surprises can lead to more than frozen pipes and cold people. Keeping tabs on road conditions is critical to making good decisions on whether to travel or stay put. Weather radios and apps on your phone or tablet will allow you to view the progress of a storm system and whether they contain severe enough weather to produce snow, icy roads or sub-freezing temperatures. Drive Weather (driveweatherapp.com) is a good example of an app that provides information on road conditions and weather on the chosen route to your next destination. It can make a difference between arriving safe and getting stuck — you never know when it may rain and turn to ice or if a blanket of snow is hiding a slick layer of ice.
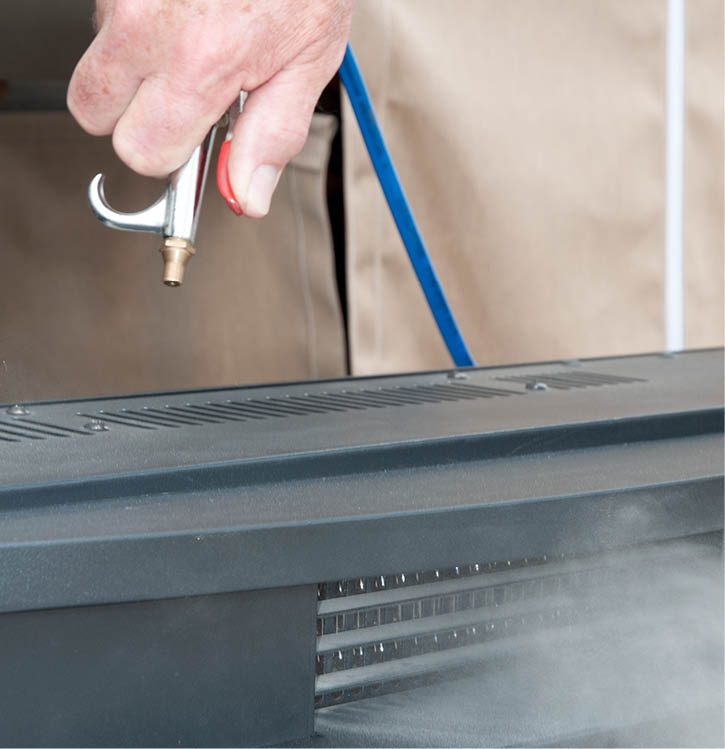
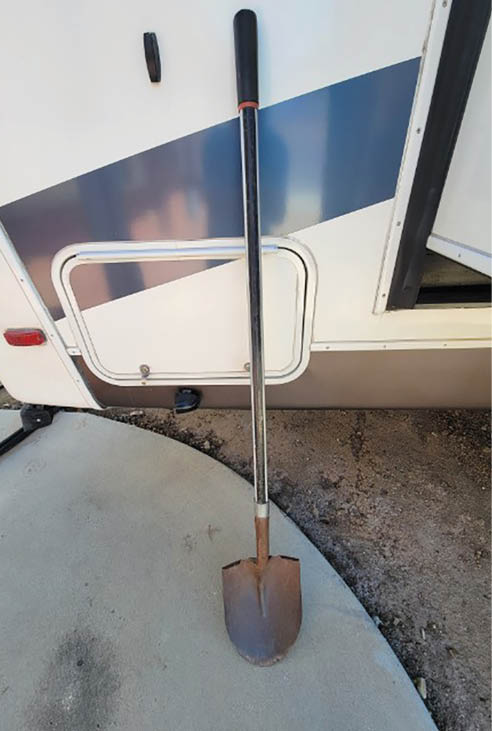
If you decide to travel during in winter, invest in chains for the motorhome, tow vehicle and trailer. Driving laws for traveling on slick roads vary and some states may require chains on the trailer, dinghy vehicle and all the rear wheels on the motorhome. You’ll also need to carry a few tools when venturing out in freezing weather, especially when off the grid. First order is a shovel; look for one with a steel handle, which tends to be more unbreakable. An ice scraper for the windshield is mandatory. This is not a common tool for those people who live in warmer areas but may be the only way to restore visibility without waiting for the temperature to get warmer. Do not simply opt to pour hot water over the ice to dissolve it; this can lead to a cracked windshield. Along with a scraper, purchase a few cans of de-icing spray. This will assure that once the ice is scraped off it won’t come back immediately.
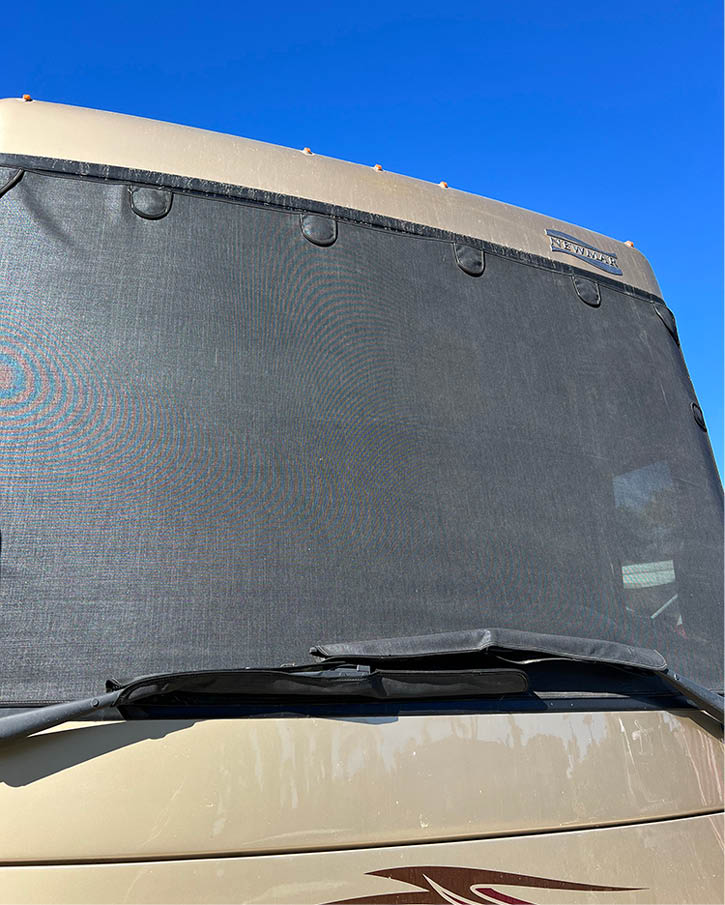
Another item that would make life easier is a windshield cover, which is usually made for motorhomes (you don’t see them as often on pickup trucks). If these covers are fitted correctly, the windshield should stay fairly ice-free. As a bonus, the cover will help stop some of the cold from penetrating the glass. Don’t forget to check tire pressure, which changes with temperature and altitude. Follow the recommended tire pressure for the weight and adjust when changes in location precipitate adjustments.
If you tow a trailer or dinghy vehicle, it’s possible that the connector for the lights and brakes can become filled with ice; this is where anti-ice spray will come in handy. Also, if enough condensation or rainwater gets on disc brakes and freezes, stopping performance can be compromised until the ice melts. Granted, this will happen fairly quickly once you’ve applied the brakes several times; just be aware of this when first pulling away from the campsite as the trailer weight can impact the tow vehicle’s stopping ability.

All RVs have one or more sources of heat. Just about all RVs are equipped with a forced-air furnace that distributes heated air through a network of registers in the floor or cabinet structures. Some RVs also are equipped with heat pumps as part of the air-conditioning system. Heat pumps are wonderful when the ambient temperature is above 45 degrees F, but will not draw enough heat out of the air when the temperature dips below that point. Many RVs built today are equipped with fireplaces with an electric heater, which provides a nice amount of warmth to the interior, along with pretty flames to watch. While the extra heat is nice when 120-volt AC power is available, it cannot reach the plumbing — including the water tank — above the belly pan or in the basement. Unprotected water lines will likely freeze without the use of forced-air heating with ducting to the areas enclosed by the underbelly.
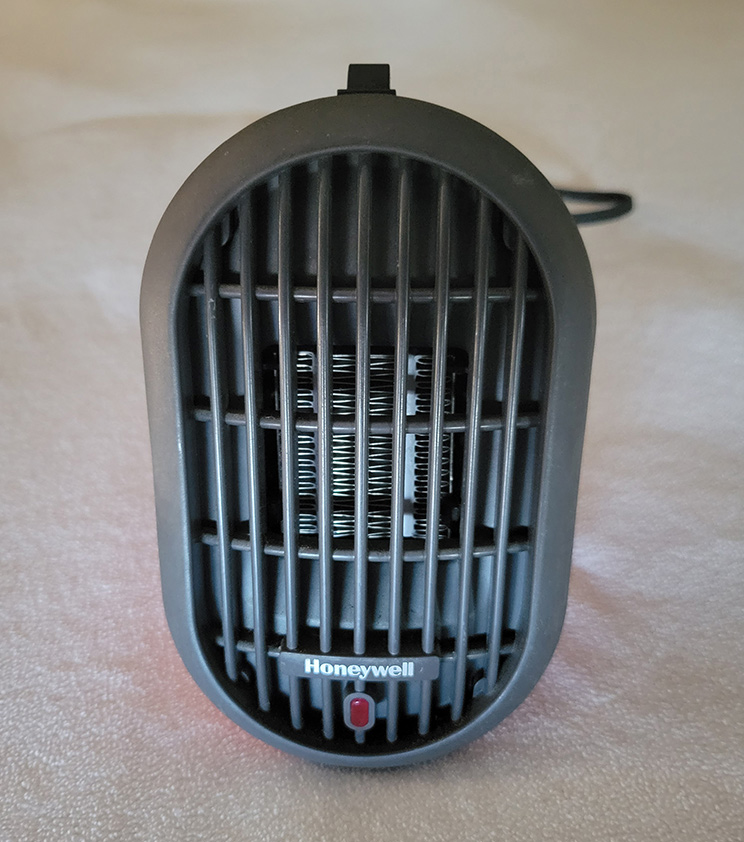
I have successfully heated the interior of my fifth wheel using the fireplace and a parabolic heater that I purchased at Costco, combined with a 300-500-watt ceramic heater positioned in the basement of the RV to heat the entire area. Although this practice is used frequently by RV owners, keep in mind that extreme caution must be exercised. The heater must be clear of any stored items, especially those that are flammable (which shouldn’t be in the storage compartments, anyway).
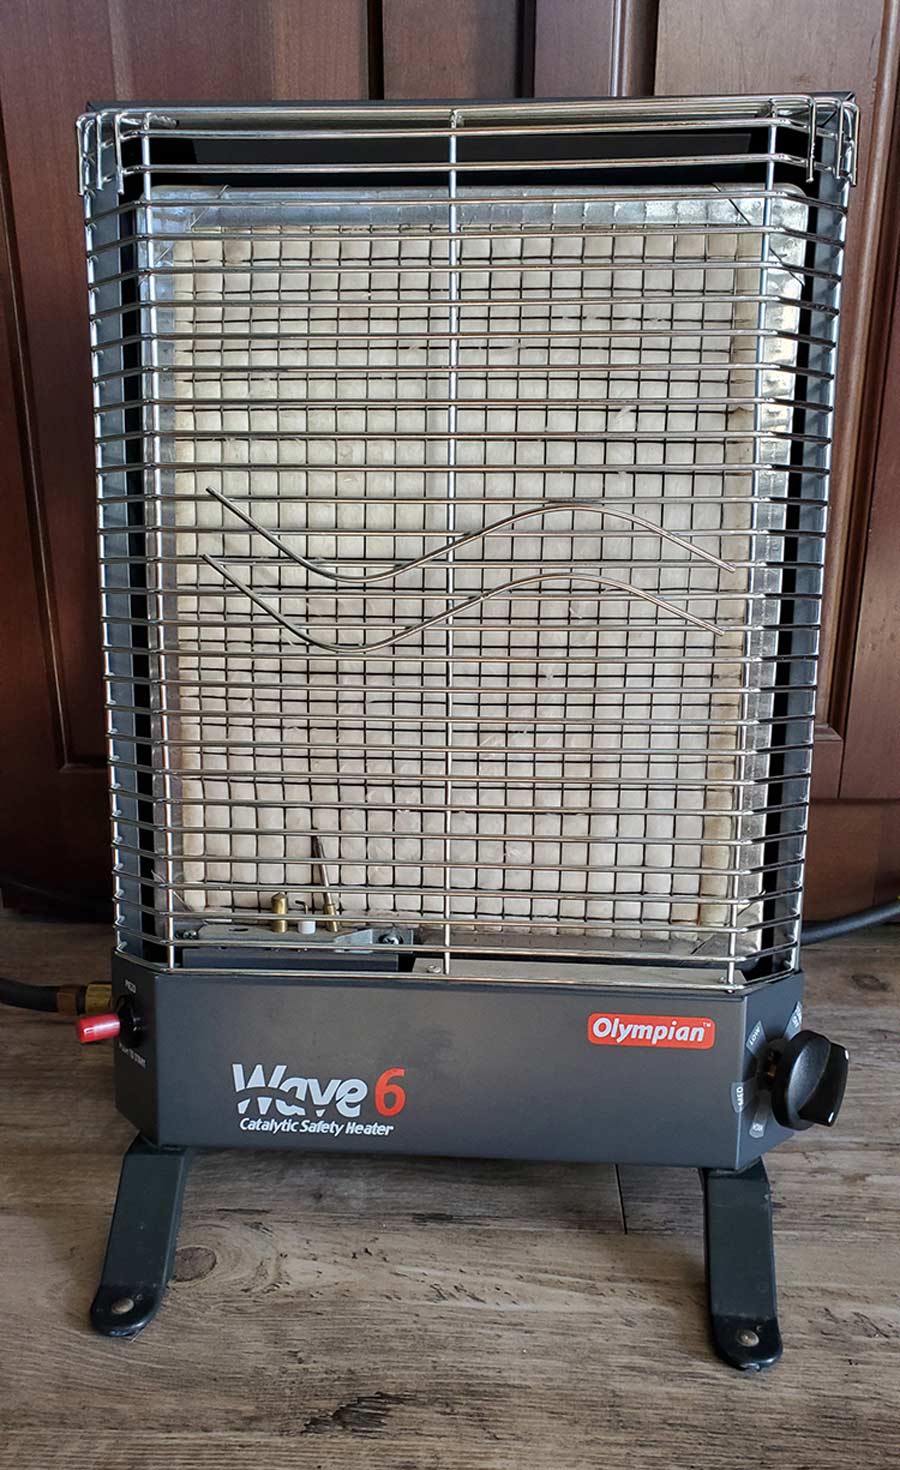
Camping off the grid in cold weather presents other challenges because it may not be possible to keep the 12-volt DC forced-air heating system running day and night without the batteries discharging too deeply. Of course, a lithium battery bank and solar panels will help — as long as there is suitable sunshine and the panels are kept clear of snow — but the LP-gas will only last so long. Having to refill the cylinder/tanks every few days can be a hassle if you’re quite a distance from town. One solution is a catalytic heater, which can be freestanding or wall-mounted. A catalytic heater also consumes propane but is very efficient, only using a fraction of LP-gas compared to a forced-air furnace. Again, a catalytic heater will not keep the pipes in the basement from freezing, but it provides soothing heat inside the RV. However, this type of heater also consumes oxygen, so it’s important to leave a window or roof vent open enough to replenish the oxygen.
A small generator can be a bonus if the solar system output is diminished because of long periods of clouds and/or rain. For winter, a 1,000 or 2,000-watt inverter-type portable generator will usually suffice; it is quiet and can run for long periods of time on a tank of gas so you can keep the batteries topped off, especially if you are running the forced-air heating system.

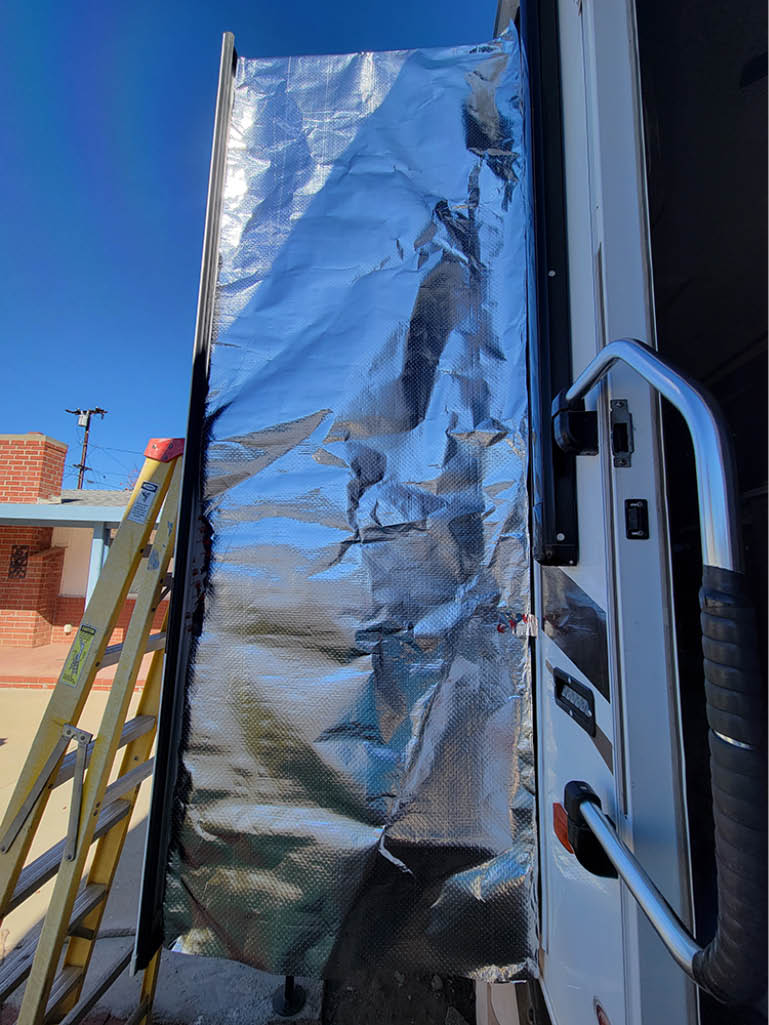
Adding insulation to the outside of your RV will give you a definite advantage, especially during the cold nights. Keeping the cold air from flowing and swirling under your RV is a first line of defense, but not very practical when on the move. It is possible to have vinyl skirting custom made and snapped in place for portability, but it’s expensive and requires a place to store when in warmer locations. Styrofoam can also be used as skirting but may not last more than one season before deteriorating — and you need a place to store the panels. Pinpointing the trouble areas where pipes are susceptible and using insulating products that are more flexible makes the most sense.
The best insulation material I’ve ever used for RVs is called Kozy Wrap, which is a very thin aluminum product with an extremely high insulative value. It has its origins from the space program and over the years has morphed into the RV industry. It’s a very lightweight material and easy to handle; I’ve used it for numerous projects around my fifth wheel. Kozy Wrap is distributed through commercial channels by Radiant Technology Composites (radiant-technology.com) in Texas and the company will sell smaller lengths of the insulation via its website.
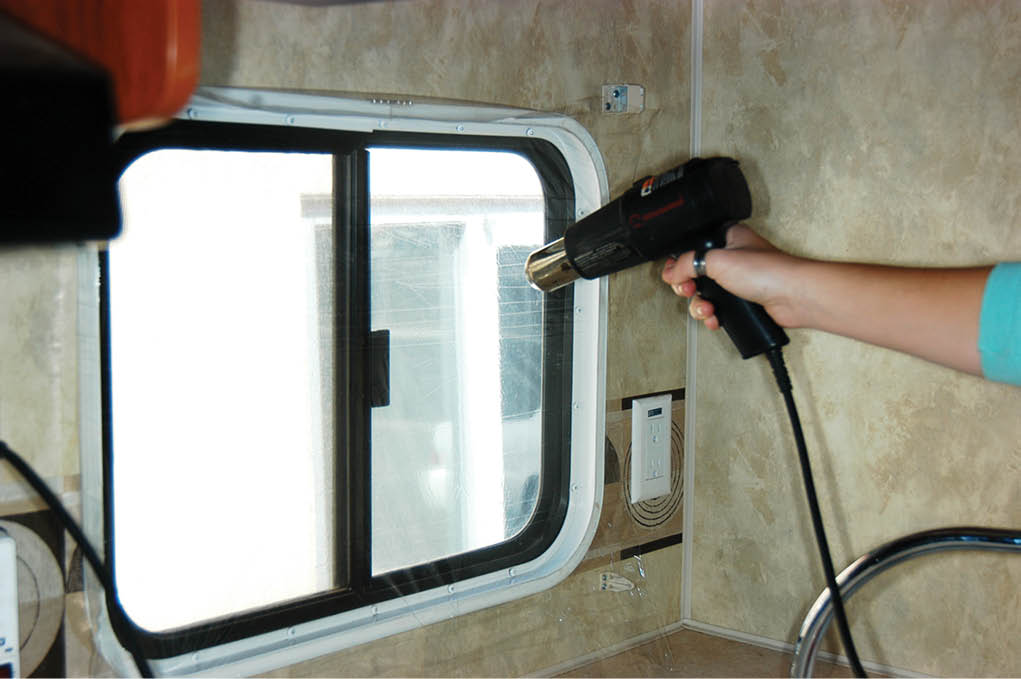
Insulating the windows will do wonders when it comes to keeping the cold out. There are several different types of window-insulating material on the market, including clear membranes that can be attached by shrinking them to the window frame using a heat gun, but you may have to deal with condensation build-up on the glass and won’t be able to open the window on nice days — without removing the clear film. Frost King (frostking.com) is one of the leading suppliers of this type of window insulation.
When installing window insulation and other insulative materials, look around to other areas where cold is likely to enter the interior such as the exhaust vent over the stove. Most are made from plastic — and it’s amazing how many out there have lost the louvered door that moves in-and-out when the fan is on, allowing the cold air to blow through the open vent, the filter and into your RV. Cutting out an extra piece of the Styrofoam that was used for the exterior and pushing it into the vent opening should suffice. When the fan is needed during cooking, remember to remove the piece of Styrofoam and set it nearby so it can be reinstalled later.
Motorhomes tend to have far more baggage doors then trailers and many have a pass-through configuration. When the temperature gets down to near freezing, the cold air will eventually work its way through these compartments and up to the floors and into the living quarters. Mounting insulating boards to the top of the compartment is almost impossible because of the frame structure and access (unless you’re small enough to crawl in and tape them on permanently) is limited, making the task difficult at best. This is where Styrofoam or Kozy Wrap comes in handy; you can cut the pieces to press-fit (or tape on) between frame members, which will block the cold from entering the interior. Fifth wheels are famous for this. Typically, the only insulation between the wood floor in the front bedroom and storage compartment is a layer of flooring.
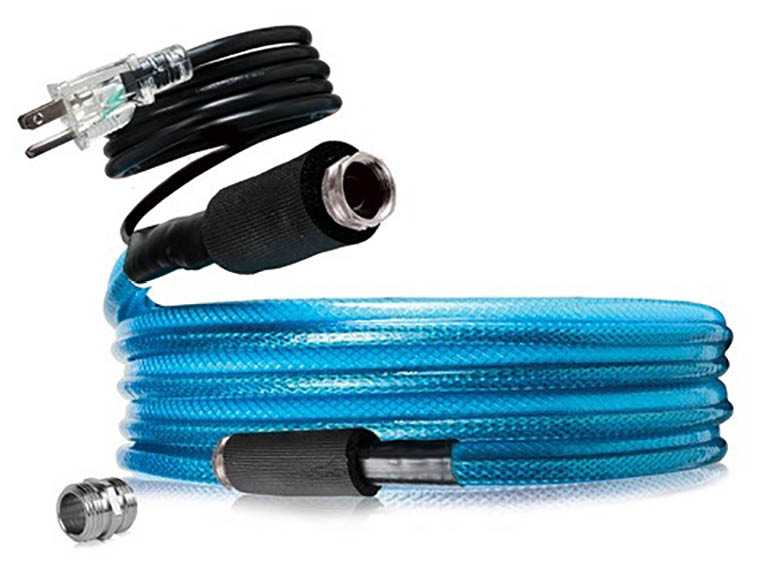
Insulating a water regulator and sewer hose is just as important as keeping the inside of your RV warm. There are water hoses on the market, like those from Camco (camco.net) and Valterra (valterra.com); that are offered in 25-foot lengths for around $125 that can be hooked up to 120-volt AC power. These hoses prevent freeze-ups in just about any temperature. An alternative is to purchase a high-quality hose and a heat strip that can be wrapped around the faucet, regulator and the water hose; it may be necessary to use two heat strips, depending on how far the water faucet is from the utility bay. Unfortunately, heat strips will not work on the sewer hose so you’ll need to be sure that there’s enough “fall” in the line to prevent standing water — if contents are allowed to freeze, the sewer hose can crack and leak when it thaws. To help protect the sewer hose, cut pieces of flexible insulation like Kozy Wrap and cover the sewer hose; this will also prevent the hose from getting brittle and breaking if accidentally stepped on. If the weather is too severe, leave the sewer hose in your compartment and only connect it when you need to dump during a warmer time of day.
Before you decide to do a stint of winter camping, scan the areas where pipes exit (including the dump hose connection points) and fill any holes with spray foam insulation to prevent cold air from penetrating into the underbelly.
- Weather Radio/App — When venturing into cold country, it’s critical to stay abreast of the weather. Portable weather radios do not rely on Internet service and provide current information. If you have service, use an app to keep informed, especially if you’re traveling.
- Shovel — Seems simple, but having a full size shovel with a metal handle will get you out of a jam without breaking. Long handles save your back.
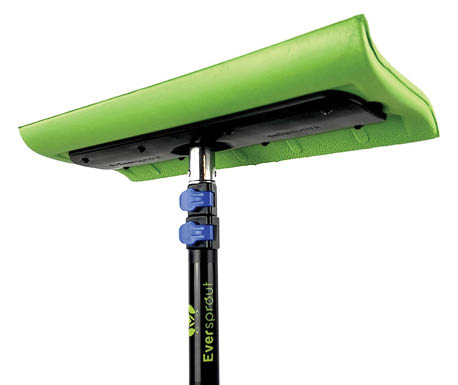
- Snow Broom — One with a collapsible handle takes up little space and helps remove snow off slide-out toppers and other items that need unburying.
- Ice Scrapers — Common to folks who live in cold country, but kind of foreign to those in warmer climes. Just about all auto parts store carry them.
- Fire Extinguisher — All RVs are required to have one but keeping them up-to-date is the owner’s responsibility. Make sure it is properly charged before venturing out.
- Portable Heater — Best investment you’ll make if your stay is in cold regions. Of course, 120-volt AC power is required; go for a catalytic heater if AC power is not available.
- Extra Insulation — Bring along extra insulation. Kozy Wrap folds up nicely and can be stored in little space. You never know when a little extra insulation is needed until you’re out there.
- Heated Water Hose — If you don’t insulate or apply heat to the water hose, expect it to freeze when the temperature dips below 32 degrees F. Better yet, if you’re spending time in snow country, get a hose with an integrated heating system; they require 120-volt AC power, but you’ll keep the water flowing.
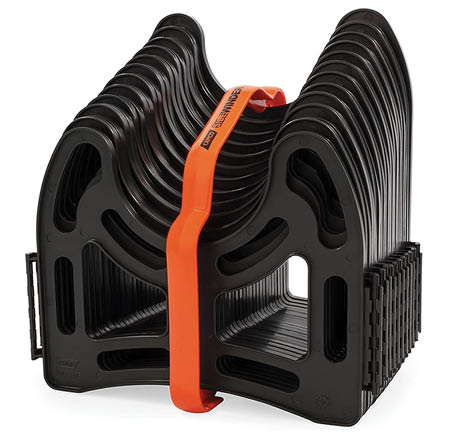
- Sewer Hose Support — Keeping the sewer hose off the ground and positioned to have an adequate fall will prevent freeze ups. These devices are inexpensive and will save you some grief in cold weather.
- Dehumidifier — Set up a small dehumidifier to remove excess moisture caused by breathing (necessary), cooking and heating. If you don’t have 120-volt AC power, an inexpensive product that uses crystals to absorb moisture will do the trick.
- Traction Device — Always carry chains (or a qualified traction device) for all the wheels in your RV entourage to comply with state and local road laws.
- Waterproof Flashlight — It goes without saying that you’ll need light when installing traction devices or digging yourself out of a hole, so make sure the flashlight is waterproof, supplies plenty of lumens and is fully charged (or has fresh batteries, with extras in the cupboard).
- LP-gas — Top off all cylinders and tanks before hitting the road. You’ll burn propane at a fast rate when the temperatures drop.
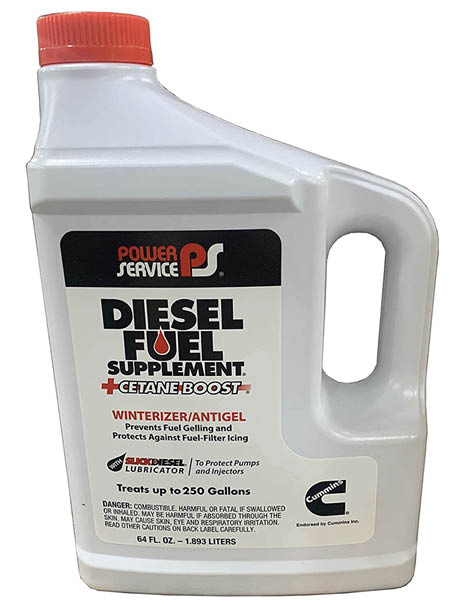
- Diesel Fuel Additives — If you plan on traveling in cold regions where the temperature frequently dips below freezing, fill up with winter blend diesel found at most truck stops in cold areas. Pouring in a diesel fuel additive prevents gelling when in extreme cold country.
- Stay Connected — Hopefully, your winter trips will be trouble-free, but just in case make sure you have a way to communicate with the outside world in case someone gets sick or hurt, or if RV service is needed. Also, keep in touch with friends and relatives, especially those who think you’re crazy for venturing out in snow country.
Another place where the cold penetrates the interior is through the roof vent. These thin plastic lids can be insulated with properly sized vent pillows (available at RV supply stores and online), which will stop up to 90% of the cold from penetrating through this area and into your RV. Also, if the heating system is not designed properly it’s possible that some of the water lines under the galley or bathroom will freeze; it doesn’t take much below 32 degrees to freeze. Leave the cupboard doors partially open in these critical areas to allow heat to penetrate inside. Keep the water heater active using electric or LP-gas; this will prevent the water heater from partially freezing when it is exposed to the elements because it’s mounted through the side of the RV.
Drain most of the freshwater tank if it is not properly protected from the cold. Most of these tanks are mounted underneath the RV and the insulation is not always adequate. Leaving the tank full and exposed to extreme cold can blow it apart if the water freezes hard. Of course, the big advantage to leaving water in the tank is having water available if the hookup hose freezes. Leave a couple of gallons of water in containers in the bathroom, just in case extreme cold prevents the normal flow of water and you need to flush the toilet.
I highly recommend a dehumidifier if you’re going to be camping for long periods of time in winter to control condensation, which can lead to mold and mildew. Years ago, when looking for something in the bathroom one day I noticed mildew on the walls from the floor to the top of the platform. Fortunately, Clorox Clean-Up Cleaner and Bleach took care that problem, but I lifted the bed one day looking for something using a flashlight and noticed that mildew had also formed all over the wall under the head of the bed. Realizing that there was no way to get ventilation under this area, I cut a couple of rectangular holes on either side of the bed platform and mounted brown louvered panels to promote air flow. Then, I added a small 120-volt AC dehumidifier from Amazon (Ivation IVADM35; $90) and plugged it into the wall near the bed. I run it 24/7 and it collects an amazing amount of condensation. Consider using two or three of these in different areas of your RV if you’re producing a lot of condensation.

If snow is in the forecast, do not leave your patio awning extended. I remember early on in my travels when I neglected to retract the awning the night before — and in the morning, the entry door would only open about a foot-and-a-half because of the amount of snow collected on the fabric. Something else you may consider is squirting antifreeze into door locks; a freezing rain can literally lock you out of your RV.


There are many tips on the RV forums that can help when camping in the winter. If you’re looking to purchase a new RV and will be traveling in cold weather, look into RVs that have either an Arctic package or are four-season certified. These packages are designed to alleviate some of the problems when winter camping, but you may still need to go through the processes that I’ve listed above.
I’ve spent many nights in sub-zero weather. The surrounding area can visually stunning when the sun comes out and there’s a fresh blanket of snow. With a little bit of thought and preparedness, the solitude of winter can add joy to your adventures rather than disappointment.