


f all the activities loved and shared by RVers, campsite cooking has got to rank near the top. There’s nothing like the communal feeling of gathering around a grill or fire with loved ones and collaborating on a memorable meal. However, sometimes time constraints or uncooperative weather make galley cooking more convenient.
That’s okay. RV appliances have made great strides in just the last few years as manufacturers continue to adapt appliance components and functions we’ve grown accustomed to in brick-and-mortar homes to mobile living quarters. Fortunately, you don’t necessarily need to buy a new RV to take advantage of newer galley products — most contemporary RV appliances are available in the aftermarket and, with some work, can be incorporated into most any older RV.
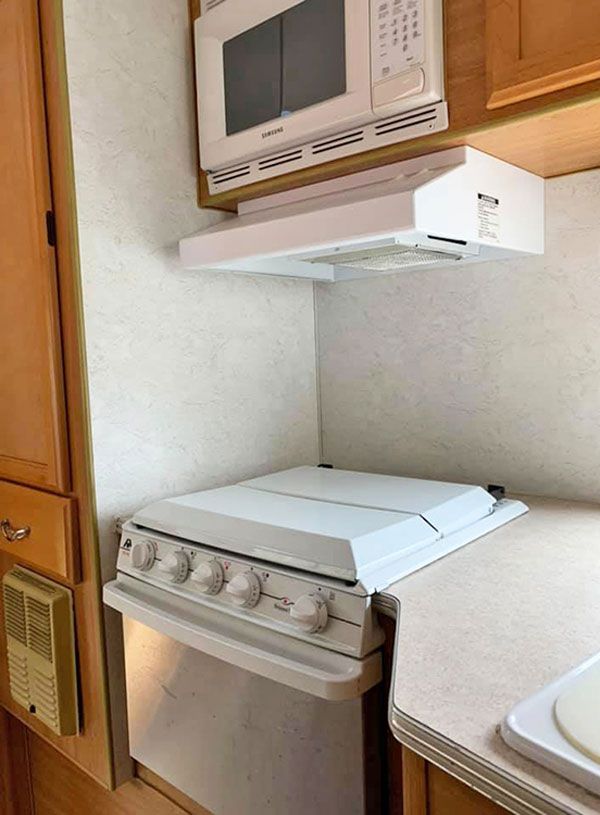
Our 2005 Lance Lite 1025 camper is a case in point. Used by RV Enthusiast editors as a test bed of sorts for different products, it’s been a workhorse — but it looks it. As the “Lite” version, it only came equipped with the necessities, and the years haven’t been kind to the standard white-toned appliances. Worse, it had obviously been neglected by its previous owner(s). The range, for example, suffered from stains, broken components and signs of rodent infestation — and, as was often the case a few decades back, it was equipped with a recycling range hood rather than one that vented to the outside.
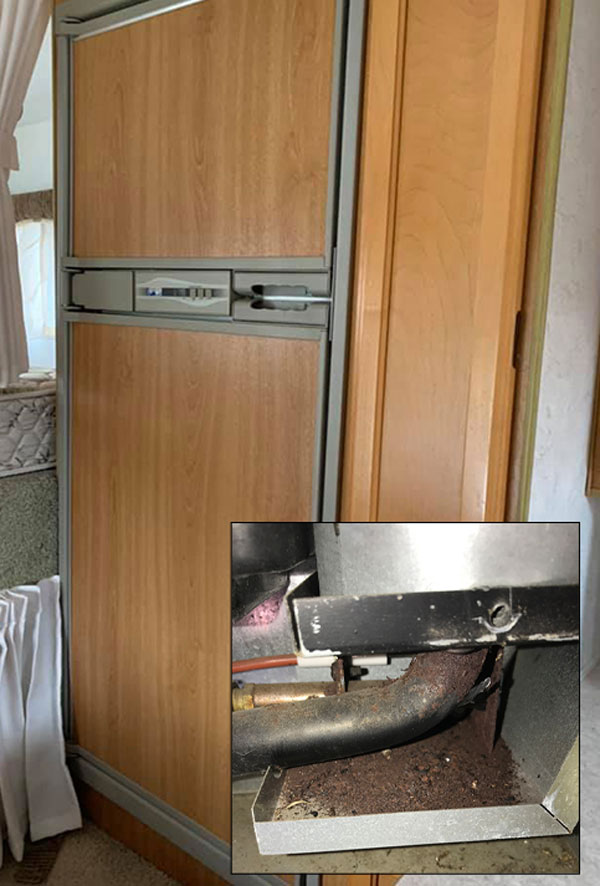
Couple that with a yellowing 0.9-cubic-foot microwave that possessed 2005-era technology and an original refrigerator resplendent with burn marks, rust and broken fasteners and, well, it was long past time for galley update.
Range and Hood
Depending on the RV, it may be possible to redesign the cabinet to accommodate the RV range you plan to install — or even eliminate the cabinet altogether. RV range manufacturers also make cooktops without an oven, freeing up valuable cabinet space or other appliance options. For example, RVE publisher Bob Livingston upgraded the RV range and countertop in his 2015 Grand Design Reflection with a combination gas/induction cooktop and an electric oven below.
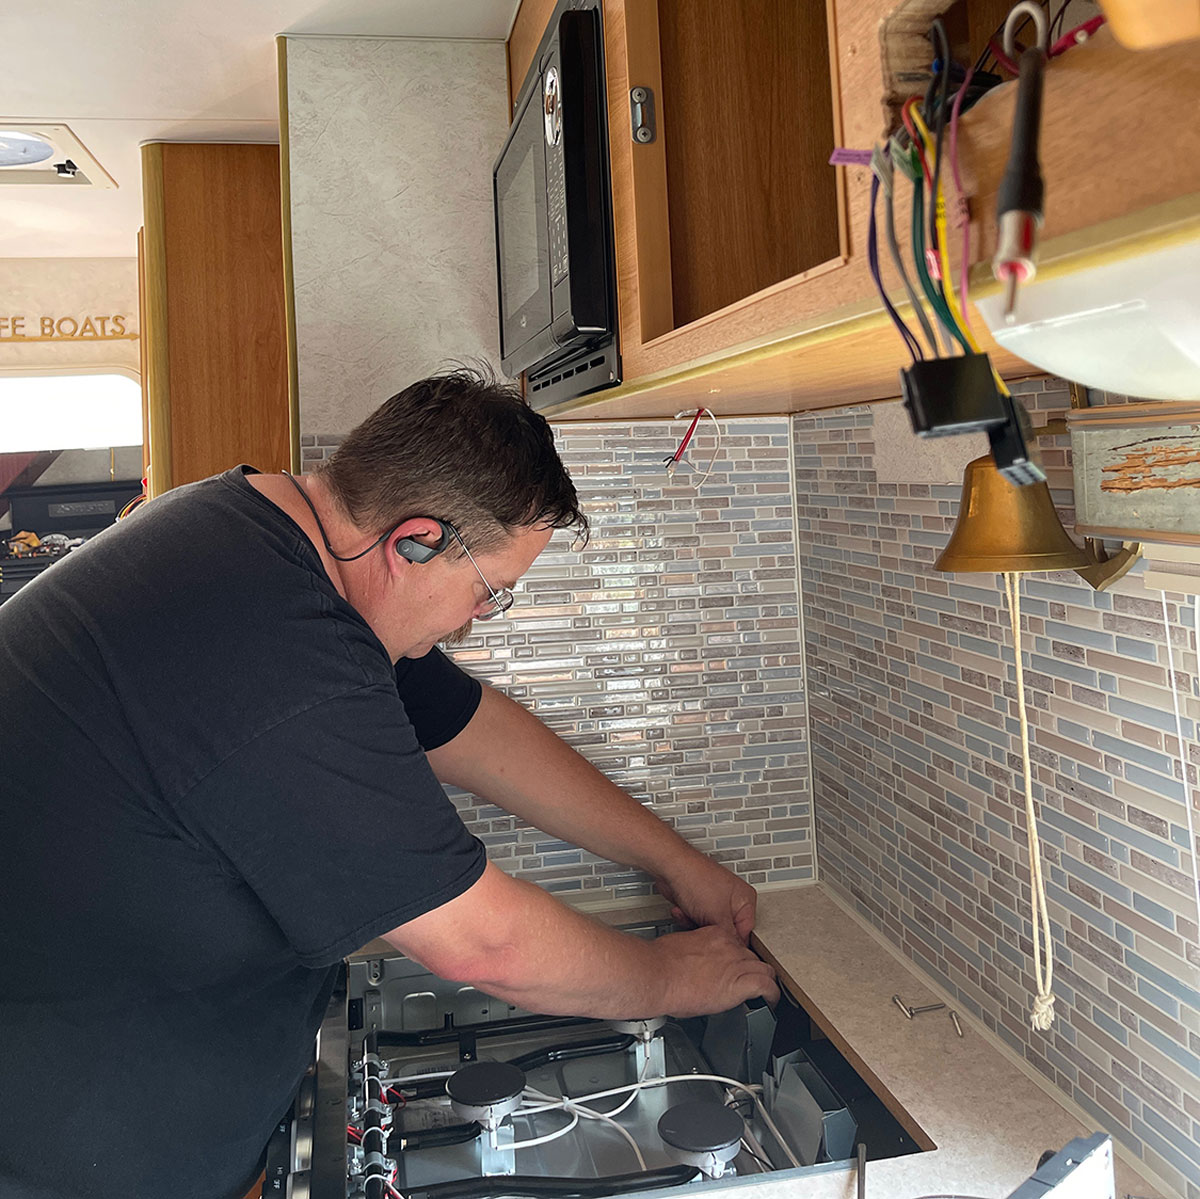
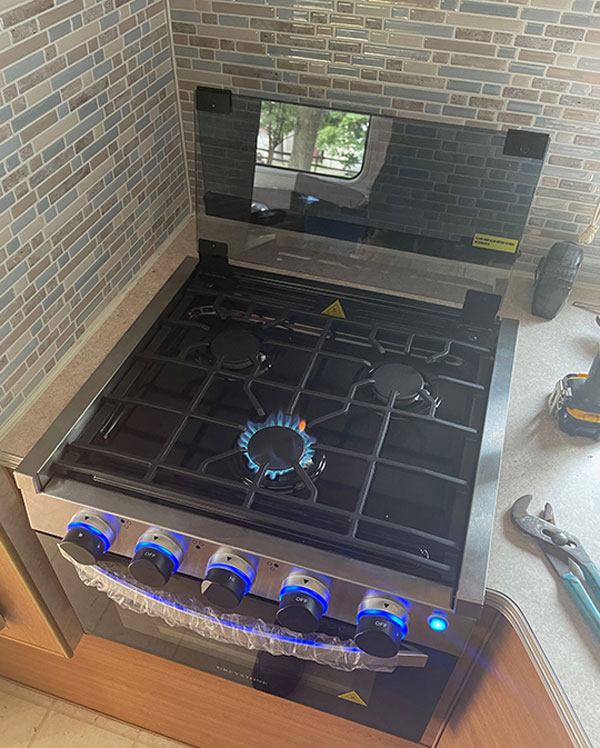
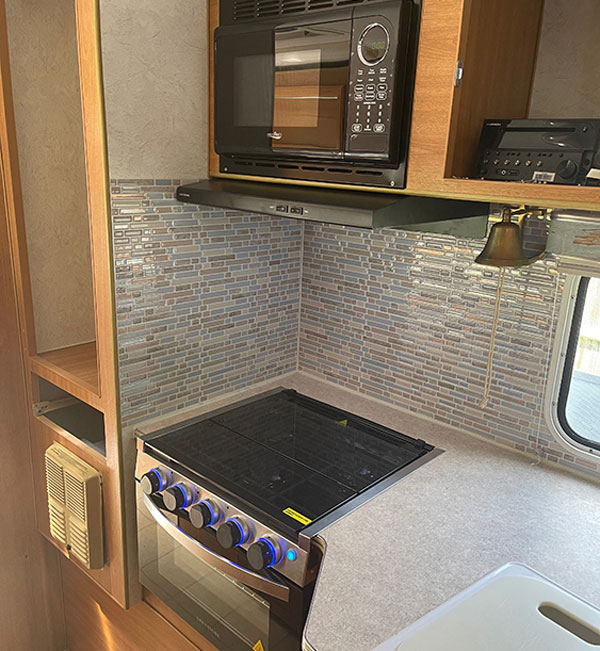
For this project, we elected to use a Greystone CF-RV17 range and CXW-30-CZ01 vented hood by WAY. Resplendant in matching black, these two products, offered as a combination package by RecPro.com (RP-2105-KT) for $514.95, provided a relatively easy swap, requiring minimal modifications inside the camper. We should note that this range doesn’t have a broiler function — most likely because of the small size of the oven — but we don’t often have use for one anyway.
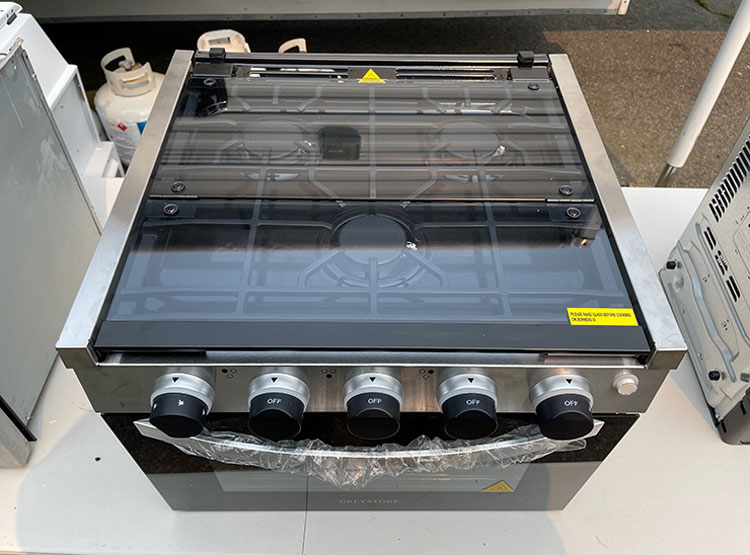
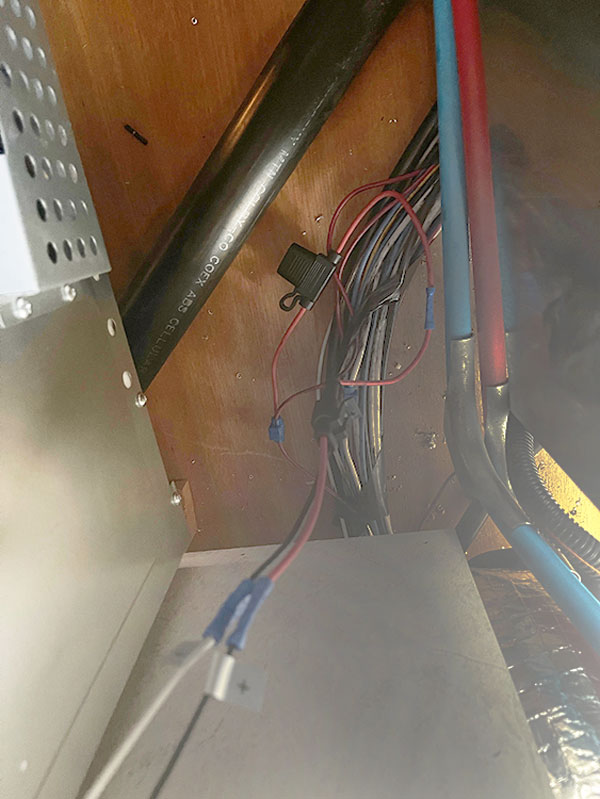
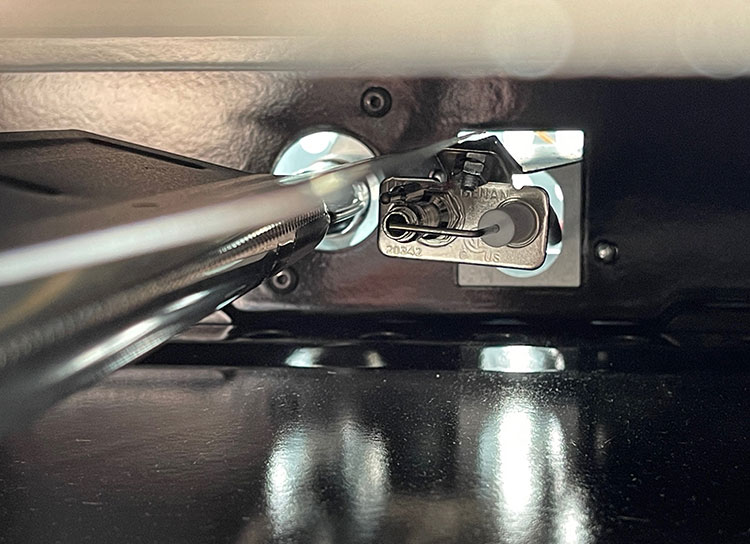
The Greystone range is a solidly built product that’s cleanly and carefully assembled, as evidenced by the under-cooktop-deck layout. Everything is neat and tidy, with more heft than the legacy model we were replacing. The addition of piezo-electric oven pilot ignition, LED lighting and a see-through oven door also combine to make this a much more usable appliance. The folding tinted safety glass lid uses rubber bumpers as both a lock and as a stop when the glass is folded into the backsplash position. Install modfications were pretty minimal; the LP-gas connection is on the rear of the unit, so we had to re-plumb the gas line and add a 12-volt DC circuit for the lighting.
Caring for this range is basically the same as the old model, except that four screws hold the cooktop deck in place instead of springs and a slide catch. In our experience, this setup works much better with less hassle.
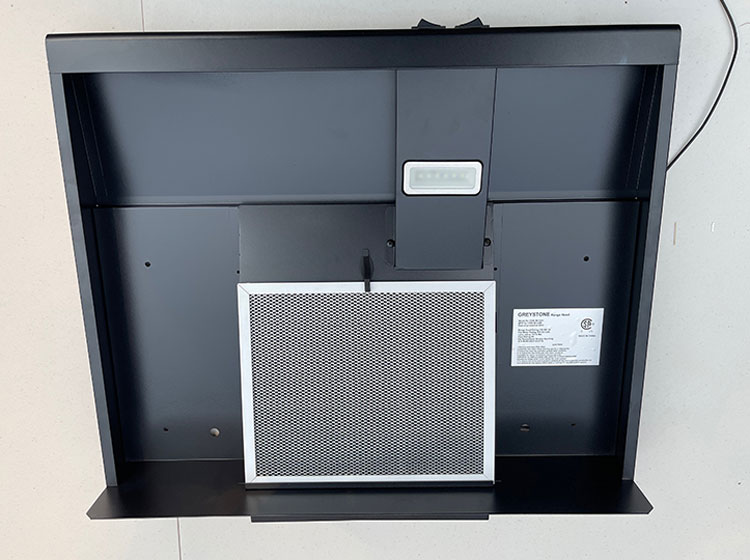
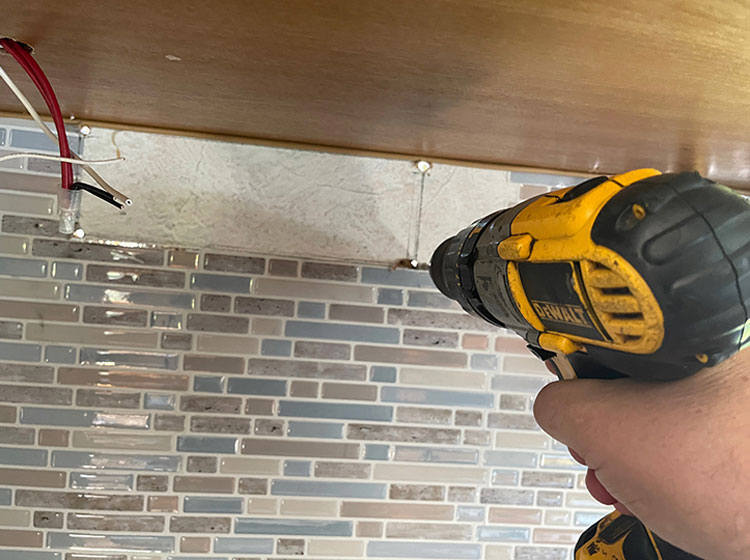
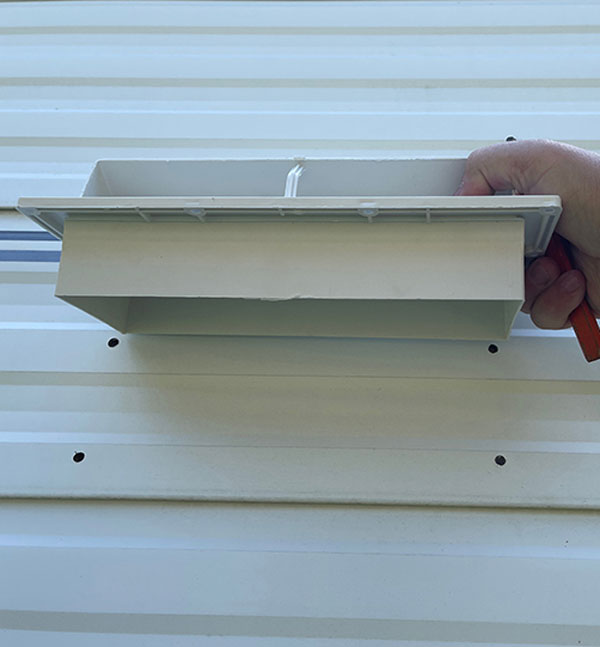
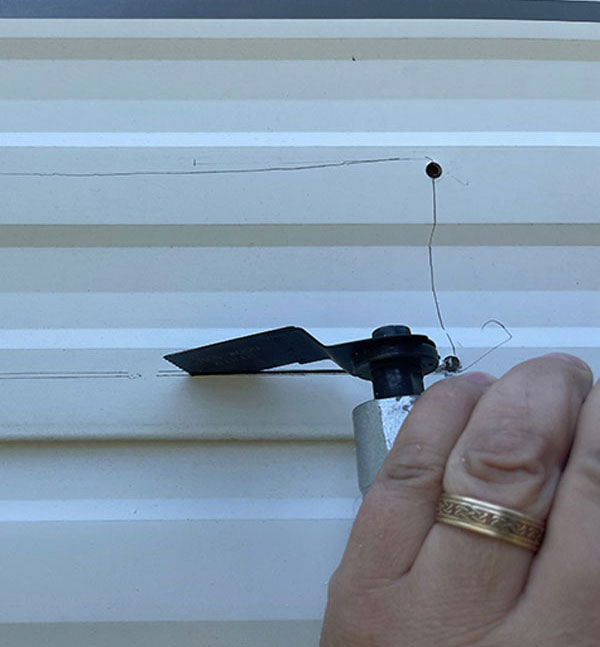
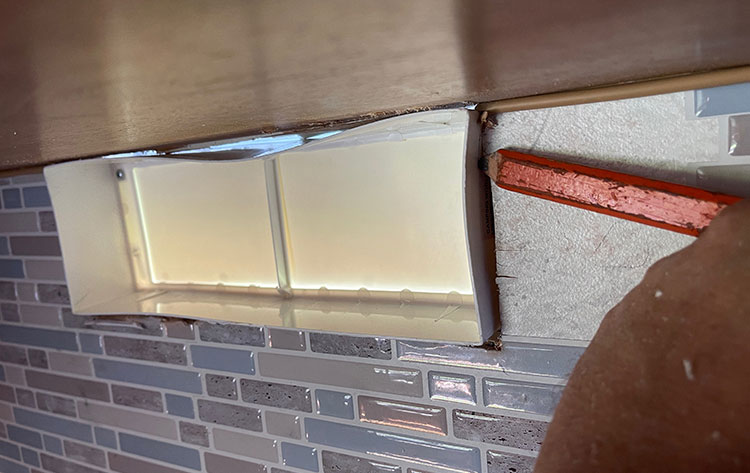
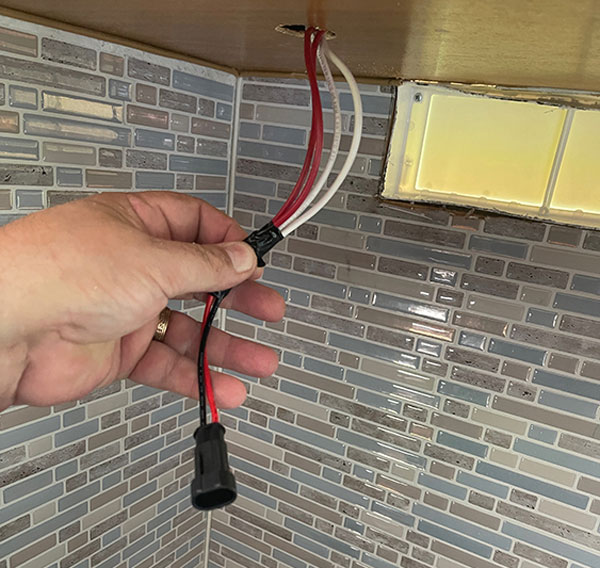
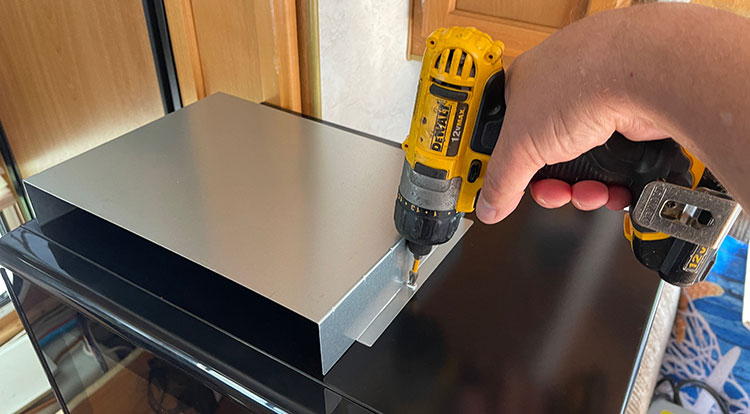
The hood is also quite an improvement, with a thinner, more stylish look, an easily removable filter and an LED light. As mentioned earlier, the original model was not vented to the outside, so we we rectified that by cutting and fabricating a wall vent duct and lid.
Thankfully, no cabinet modifications were required. Before considering a range hood and/or microwave, it is important to review the installation instructions and measure the cabinet carefully to ensure that the unit will be properly secured and vented. This range uses the four screws into the countertop like the original one, but the bottom of the unit has venting space. So, two additional screws were used to secure the face of the range to the cabinet. Note also that the manufacturer has cookware size limitations outlined in the downloadable owner’s manual.
Once installed, both the range and the hood worked as anticipated. While we can’t yet comment on the accuracy of the oven thermostat, the range’s cast iron grates, which sit in anti-rattle rubber grommets, also provide a substantial surface to cook on.
Microwave
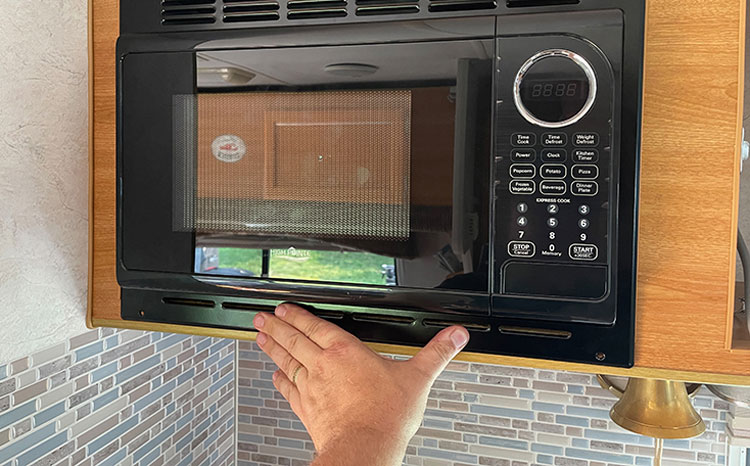
We really wanted to add a convection microwave to this unit, but once again, cabinet size was the limiting factor. While there are products available like the WAY HFK2421A stove and convection oven range, it only fits in a 24-inch range opening and thus wouldn’t work in this camper. Likewise, no convection microwaves are available in a size small enough to fit the space occupied by the original 0.9 cu.ft. microwave. Finally, because of the built-in configuration, we had to select a compatible model with a built-in duct and bracket kit. This is very important to ensure proper and safe operation of the oven.
For this project, we opted for the RecPro 0.9-cubic-foot microwave oven (RPM-1-BLK) with a black finish and a retail cost of $189.95. This 900-watt output (1,350-watt input) unit has all the features we expect in a modern microwave, including a push-button latch door, instant start, 10 power levels, eight express cooking options and so on. It comes with the built-in bracket and duct kit, so everything you need is there. We did, however, have to remove a piece of plastic trim from the cabinet to get the oven’s feet to clear.


Refrigerator
It was an easy decision to replace the old Norcold fridge with a new one. Norcold has a well-deserved reputation for building RV absorption refrigerators, and we’d be able to do an even swap without much work. That was the plan, anyway.
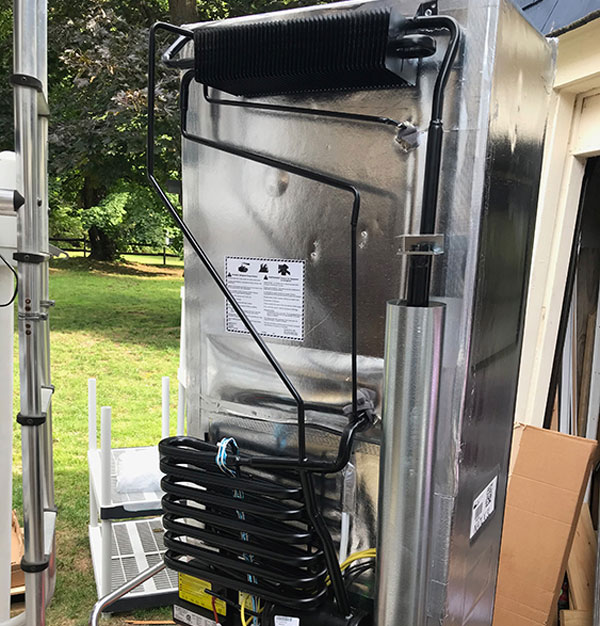
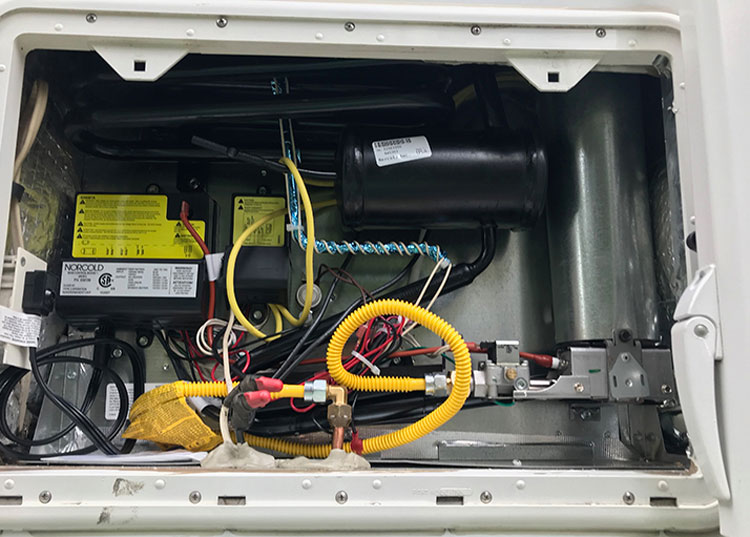
Getting refrigerators into and out of RVs can be a nightmare. If you already didn’t know it, appliances are usually fitted into a RV during the manufacturing process, not afterwards. The truck camper’s entry door wasn’t wide enough to accommodate the girth of the old refrigerator, so we had to remove it. At that, we also had to disassemble the refrigerator completely — including removing the cooling unit, doors and hardware — to squeeze it out the door. Similar disassembly of the new unit is often required, which many people get really nervous about. It’s a process that an experienced certified technician can do given time, but is probably not what most RV owners want to tackle.
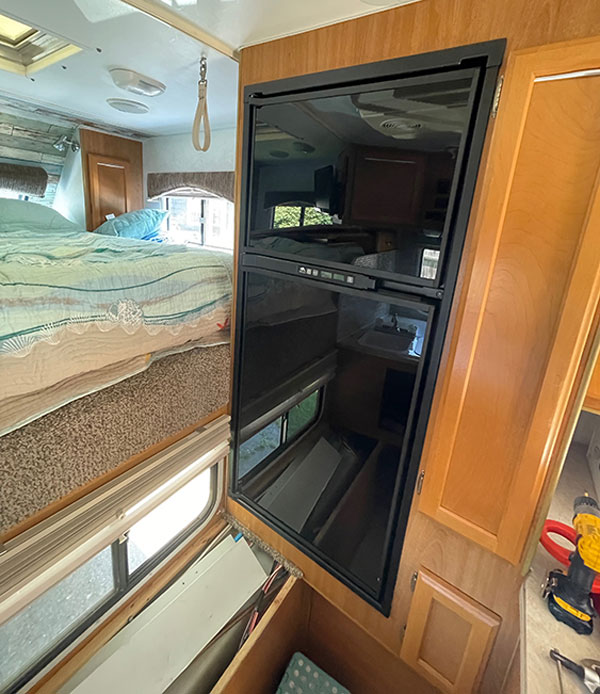
Fortunately, Norcold has designed its new Polar NA7LX series to disassemble from the front (doors and part of the cabinet) to allow it to fit through the RV door opening without removing the cooling unit. It’s not only ingenious but also makes the replacement of the unit much easier — even if the narrow camper door needs to be removed to affect the swap.
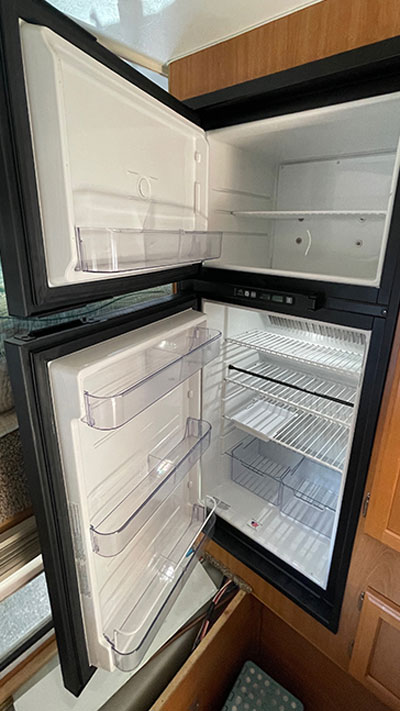
The Norcold Polar NA7LX that we installed is a 7-cubic-foot, 3-way refrigerator — which means it can operate on propane, 120-volt AC or 12-volt DC, the latter being ideal when traveling on the road with a good charge line connected from the truck. The previous unit was also a 3-way, so the 12-volt DC wiring was already designed to handle the load of the 12-volt DC electric element. If you want to add a 3-way to an RV that doesn’t have one, you will have to upgrade the wiring as specified.
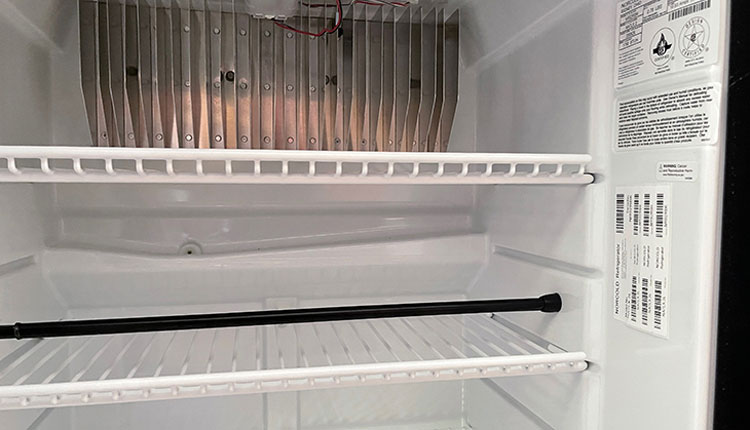
The Norcold’s new touch controls, modern styling and tall, restyled door panels give the unit a more modern, residential look. The interior is also redesigned, with a molded-in drip tray on the back wall, very usable shelves and see-through door buckets. You can even add an icemaker. Likewise, the electronic controls and LCD display work well and are intuitive. The handles and hinges are hidden, and if you have an older model fridge and want to reuse the door-panel inserts, metal spacers — doubling as “MAGNAstrips” to hold magnets for photos — are included. Our 3-way model was also ordered with a cold-weather kit that allows operation down to 0 degrees Fahrenheit.
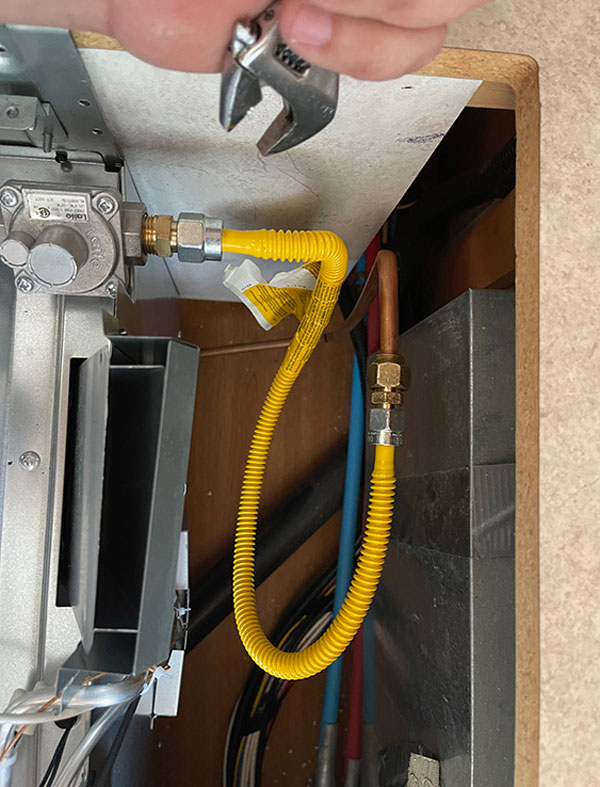
Once the old unit was removed, we saw that the paneling in the back of the cabinet had severely degraded and delaminated. We peeled back the paneling and installed new lauan then added a layer of sheet aluminum in the corner as added protection from heat damage. The only other change we had to make was with the LP-gas connection. As with the range, it had moved, so we added an appliance hose extension to make the connection. The Norcold NA7LX.3F with cold-weather kit and rear fan retails for $1,838.39.
By the way: anyone contemplating a refrigerator upgrade also should consider the potential benefits of a 12-volt DC compressor refrigerator. These are good options for many RVs that have the battery capacity and solar recharge capability to operate for extended periods off the grid. While we are adding a solar energy system as part of the makeover, there is only space for one battery — and we didn’t want to be limited in the amount of time the unit could be used without firing up the generator. Additional batteries could be installed in the bed of the truck and wired in with high-amperage connectors, but that is not currently a part of this project.
Measure Twice, Order Once
All things considered, our galley upgrade went off without a hitch. While we approached it in stages, the entire task required about 12 hours. As noted, we had to make some significant changes to the LP-gas system, and we performed a full regulator and leak down test using a manometer. Each connection was also checked with a leak check solution to ensure a good connection. This type of testing is best performed by an experienced Saturday mechanic or certified RV technician, even if you elect to install the appliances yourself. Don’t take chances with LP-gas.
Measure everything, then measure it again before ordering new appliances. They ship via truck freight, so you really don’t want to make a mistake and have to ship them back.
We adhere to applicable RV construction standards when performing this kind of work, which include NFPA 1192 and NEC 551, among others. Research the required procedures to meet code before you begin — your safety is at stake. Thinking about doing things right ahead of time makes all the difference. In the case of the refrigerator cabinet, for example, we went beyond the standards to line the back of the cabinet with aluminum because of the condition of the paneling.
Overall, we’re very pleased with how the upgraded appliances have worked out in this makeover. Total retail cost (not including labor) was approximately $2,700, but all of the appliances are a marked improvement over the originals — and make the camper a much better place to cook, eat and live.




(800) 543-1219
www.norcold.com
RecPro
(574) 848-0405
www.RecPro.com
Way Interglobal
(574) 971-4490
www.wayinterglobal.com